The Hood Is Half the Jacket: Engineering a Hood That Survives Real Weather
Jackets are sold on fabric numbers and judged on their hoods. A 20,000 mm shell with a brim that collapses and a face opening that funnels rain down the neck is a wet jacket with good paperwork. This briefing covers how hoods fail, the four architectures worth specifying, the geometry that decides whether a hood seals, and the lines that belong in a tech pack.
Quick Answer: A hood is a separate engineering project, not a collar attachment. Four things decide whether it works: a wired brim long enough to throw the drip line clear of the face, a face opening that can be pulled down to cheek level by front adjusters, a rear volume adjuster that stops the hood rotating in wind, and hood seams that are taped like every other seam in the shell. Specify hood type, brim wire, adjuster positions, face-opening dimensions and collar height explicitly in the tech pack, and validate on a finished garment - EN 14360 rain tower or a documented spray protocol - because a fabric test never sees a hood.
For production-ready programmes, see UniOuter's custom hiking and mountaineering apparel line, or read about our factory's hood assembly, seam-sealing and waterproof testing capability.
Ask a buyer what decided their last jacket purchase and the answer is rarely a hydrostatic head figure. It is whether the hood stayed where they put it. Hoods are the only part of a shell that has to work around a moving object - a head that turns, tilts, wears a helmet, or tilts down against wind - while also being the highest-exposure surface on the garment. That combination of geometry and weather is why hoods fail differently from every other panel, and why they are so often the last thing specified and the first thing complained about.
Five ways a hood fails, in the order users notice them
Field returns and review language cluster around a small number of mechanical causes. None of them are fabric failures, and all of them are pattern or component decisions made months before production.
- The brim collapses and drips on the face. A brim without a wire - or with a wire too thin, too short or kinked at the centre seam - folds under wind load and delivers a steady drip line directly onto the forehead and glasses.
- The face opening is too wide. Without front adjusters, or with adjusters placed too far back, the opening cannot be pulled down to cheek level. Sideways rain enters at the temple, and the wearer's instinct is to hold the hood with one hand.
- The hood rotates. A rear volume adjuster alone controls depth but not rotation. In a crosswind, the hood slides sideways until the brim is over an ear and the face opening is over an eye.
- The collar is too low or the chin guard too thin. Water running off the brim and hood body reaches the neck. A 2-4 cm collar above the chin with a brushed tricot guard and a storm flap behind the zip is not a luxury - it is the drain path's last defence.
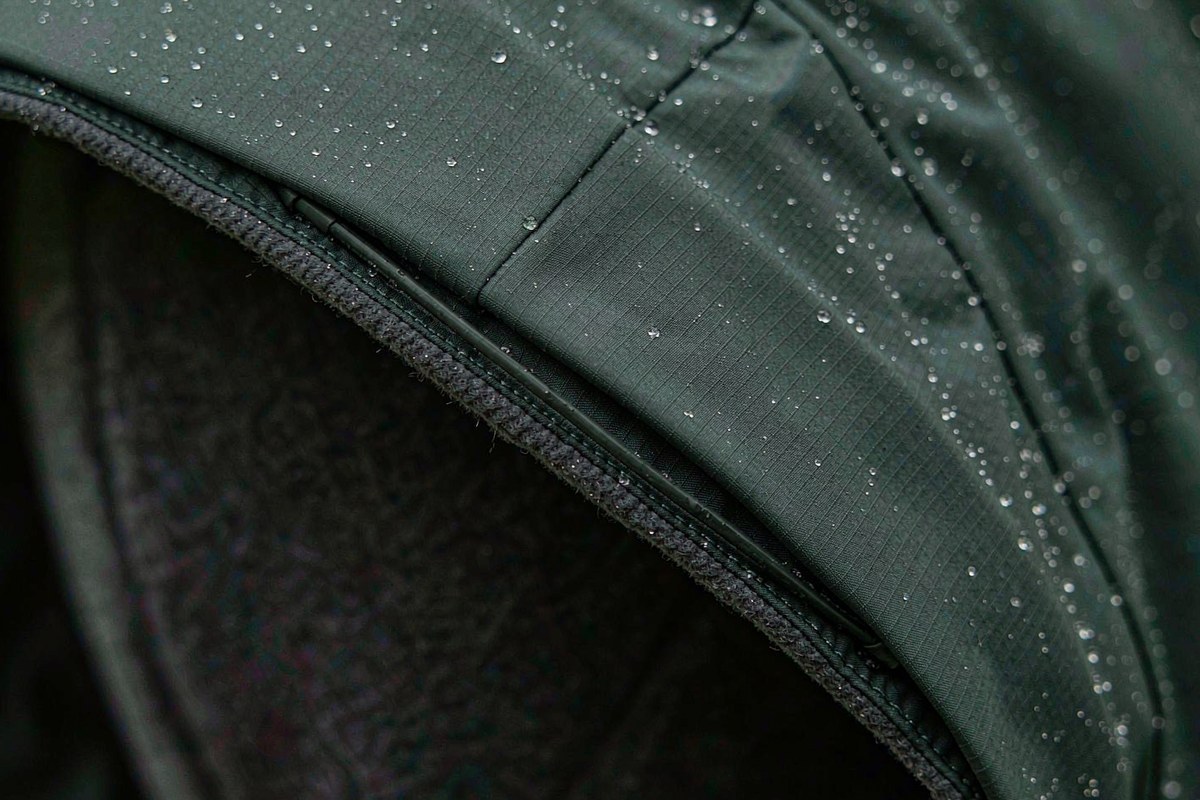
- The hood seams are not taped. The hood-to-body junction is a three-way crossover with the highest seam bulk in the garment, and it is the single most common untaped seam in mid-market shells.
Four hood architectures and what each one is for
Hood type should follow the use case and the price band, not the pattern block that happens to be in the factory's library. The four architectures below cover almost every outdoor programme, and each carries a different component cost and a different failure mode.
| Architecture | Adjustment | Typical programme | Where it fails |
|---|---|---|---|
| Fixed two-point hood | Rear volume plus one front cord | Urban and commuter rainwear, 5,000-10,000 mm | Face opening cannot be closed at the cheeks; brim folds in gusty conditions |
| Three-point technical hood | Rear volume, two front/side adjusters, wired brim | Hiking and trekking shells, 10,000-20,000 mm | Front adjusters placed too high, so the cord pulls the crown instead of the cheeks |
| Helmet-compatible hood | Extended crown, rear volume, single-hand front cords, wired brim | Mountaineering, climbing, ski touring, rescue | Insufficient crown volume - the hood lifts off the helmet when the wearer looks up |
| Stowable / zip-off hood | Rear volume, front cord, packable into collar or attached with zip | Travel, commuting, hybrid urban-outdoor | Stow pocket creates a water trap at the collar; zip interface is a leak path if unflapped |
The commercial pattern is clear. Entry programmes specify a fixed hood because it is the cheapest block, then market the jacket as a hiking piece and inherit returns from the first wet weekend. Technical programmes pay for three adjustment points and a wired brim and get a hood users describe as 'solid'. The helmet-compatible hood is a different pattern altogether - it needs crown volume measured over a helmet, not over a head - and should never be sold as a general hiking hood, because on an unhelmeted head it hangs and the brim sits too far forward.
Five adjustment points, and the geometry behind each
Adjustment hardware is cheap. Adjustment geometry is not, because it lives in the pattern. These are the five points that decide whether a hood seals, and what to write down for each.
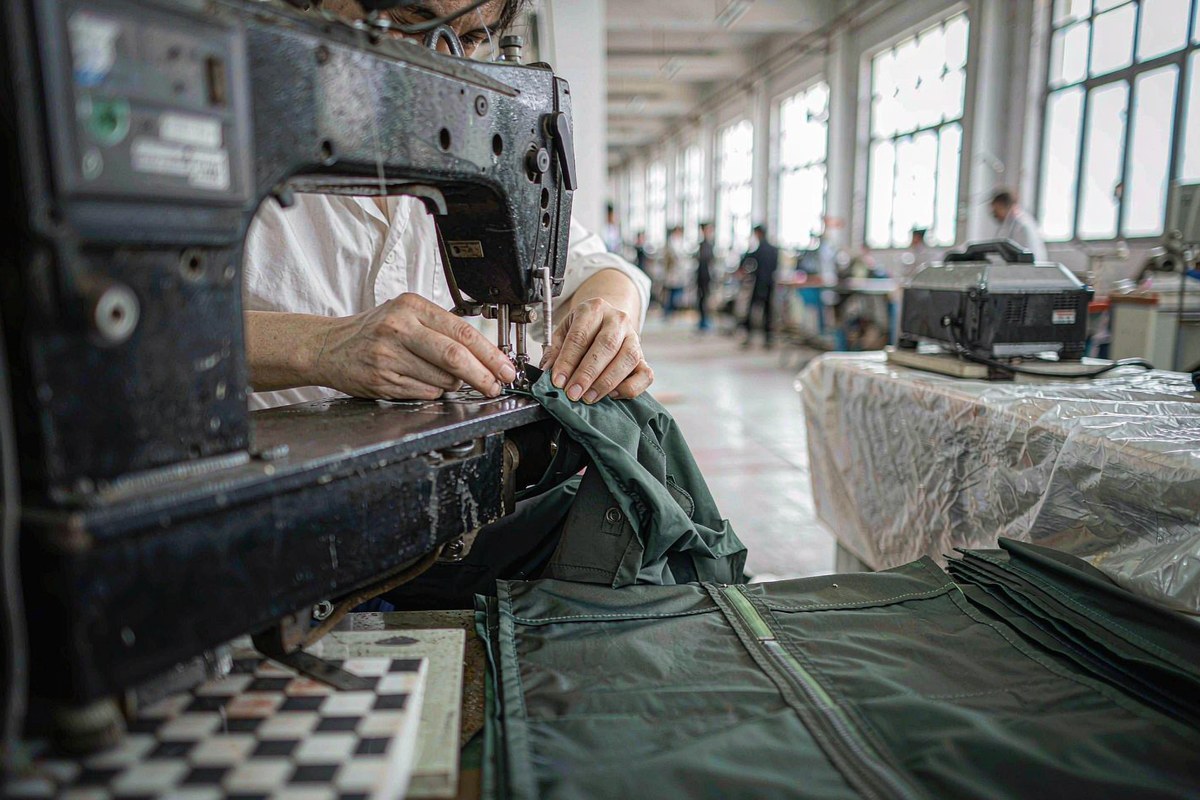
Where the hood meets the collar, three to five seam lines converge: the hood side seams, the centre-back seam and the neckline. That junction carries more seam bulk than any other point in a shell, which is exactly where a tape roller struggles to apply even pressure. Two consequences follow. First, hood seams deserve their own line in the tech pack - fully taped, with the crossover taped in a defined sequence and inspected from the inside. Second, the junction should be tested as a system: a finished-garment rain test that exposes the hood and shoulders from above will find a lifted crossover faster than any panel test. Factories that tape the body and leave the hood to the pattern default are selling a jacket that leaks at the most visible point on the garment.
Buyers read the fabric column. Users remember the hood. The two are decided in the same tech pack, months apart.
UniOuter technical notes, hood construction, autumn 2026How to test a hood before bulk production
There is no fabric test that predicts hood performance, so hood validation has to happen on a finished garment and, where possible, on a wearer. The sequence below is the minimum worth requiring from a supplier before a bulk commitment.
- Finished-garment rain test - EN 14360 exposes a worn garment to high-energy droplets from above and is the only standard method that sees the hood, the brim drip line, the collar and the hood-to-body crossover as one system. ISO 811 hydrostatic results on hood panels are not a substitute.
- Brim drip check - hang the jacket on a mannequin head, pour or spray from 45 degrees above and watch where water leaves the brim. A drip line falling inside the collar line means the brim is too shallow or has lost its camber.
- Peripheral vision check - with the hood up and front cords tensioned, the wearer turns their head left and right. If the hood rotates rather than the head turning inside it, rear volume and front tension are fighting each other.
- Helmet compatibility trial - fit the hood over at least two helmet sizes and a bare head, then check that looking up does not lift the brim off the forehead and that the rear adjuster still reaches.
- Wind stability - a tunnel or vehicle test at 15-20 m/s shows whether the brim folds, the hood lifts or the cords slacken. Photograph the result; it is the most persuasive evidence in a supplier review.
- Wash durability - 20 and 40 domestic cycles (ISO 6330) then re-check wire position, adjuster retention, cord-lock function and hood seam adhesion. Most hood failures in year two are wash failures in year one.

What belongs in the hood section of a tech pack
Hood specifications are usually written as a pattern reference and a photo. That is not enough for a factory to hold a standard across sizes, let alone across seasons. These lines cost nothing to write and are difficult to argue with after production.
- Architecture named: fixed two-point, three-point technical, helmet-compatible or stowable - never left to the pattern block.
- Panel count and seam positions: two-panel, three-panel or four-panel crown, with centre-back seam placement stated.
- Brim spec: wire type and diameter (2.5-3 mm), brim depth (6-9 cm), channel closure and end bar-tacks.
- Adjuster map: rear volume, two front/side exits with position on the pattern, cord gauge and toggle type.
- Face-opening dimensions per size, measured with cords slack and fully tensioned.
- Collar height above the chin, chin-guard material and storm-flap construction behind the zip.
- Hood seam taping listed separately: tape width, crossover sequence, inspection point and photo record.
- Helmet clearance dimension for helmet-compatible hoods, plus the vision and look-up checks.
- Wash and rain validation: cycles, standard, and the acceptance criterion for each hood component.
Two regulatory threads that reach the hood
Where a shell is sold as protective clothing rather than outdoor equipment, EN 343 classifies water penetration and breathability - and it assesses the garment's construction, hood included, rather than a fabric swatch. A jacket claiming the top band on water penetration is claiming that its hood, collar and seams behave like its panels. The classification logic and the test references are published through the ISO and EN standards system, and the same construction logic applies to non-PPE programmes as a discipline: if the hood cannot survive that question, the waterproof claim is marketing rather than engineering.
The second thread is chemistry. PFAS-free DWR finishes change the surface energy of face fabric, which matters most where fabric is handled, folded and abraded - the brim and the hood edge. A brim whose face fabric wets out stops shedding, starts wicking along the wire channel and drips. Brands moving to fluorine-free finishes should re-test hood assemblies rather than assume the old brim behaves the same. The material side is covered in the waterproof-breathable fabric science guide, and the seam side in our seam-sealing briefing for 2027 shells. Membrane behaviour under sustained rain, including the reference technology behind most premium hoods, is documented by mills such as Gore and is worth reading before specifying a laminate for a hood-heavy programme.
UniOuter engineers hoods as part of the pattern, not as an afterthought: three-point adjustable hiking hoods, helmet-compatible mountaineering hoods and stowable commuter hoods, with hood seams taped on the same line as the body and finished-garment rain testing recorded per lot. The jacket line building guide shows how different hood architectures sit inside a coherent range, and the shoulder-season shell briefing covers the lighter constructions where a fixed two-point hood is a legitimate choice rather than a compromise.
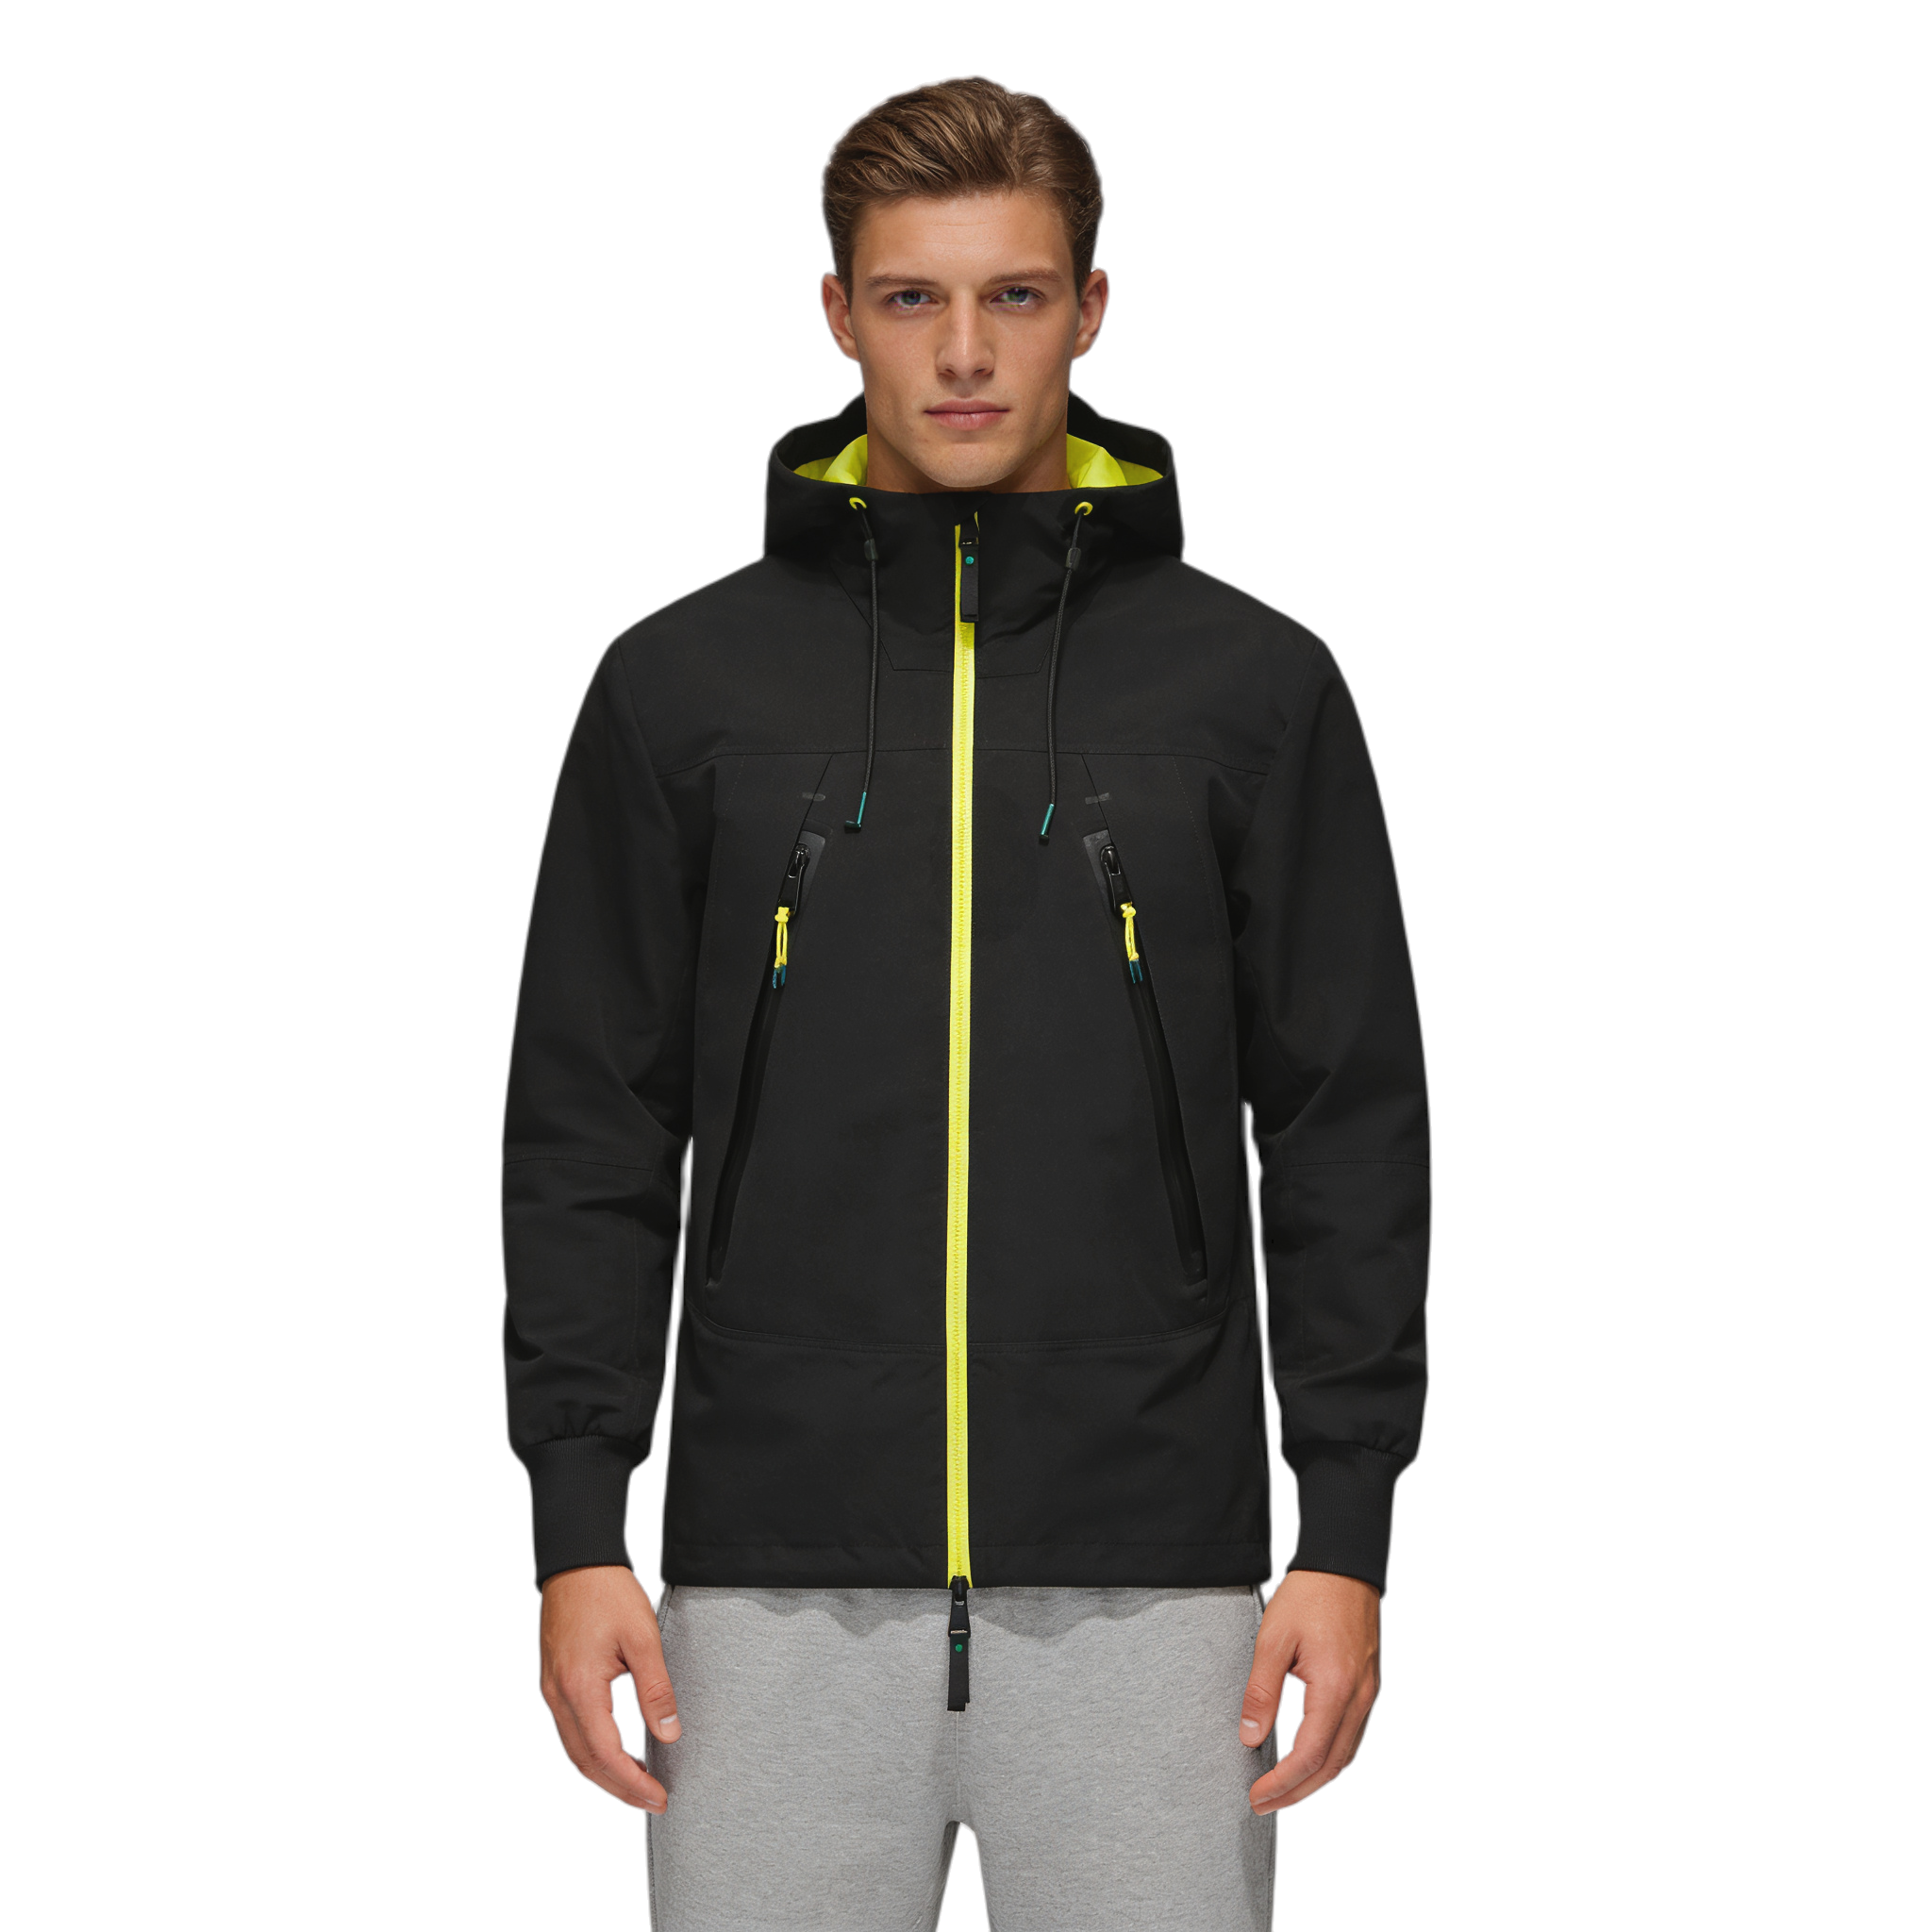
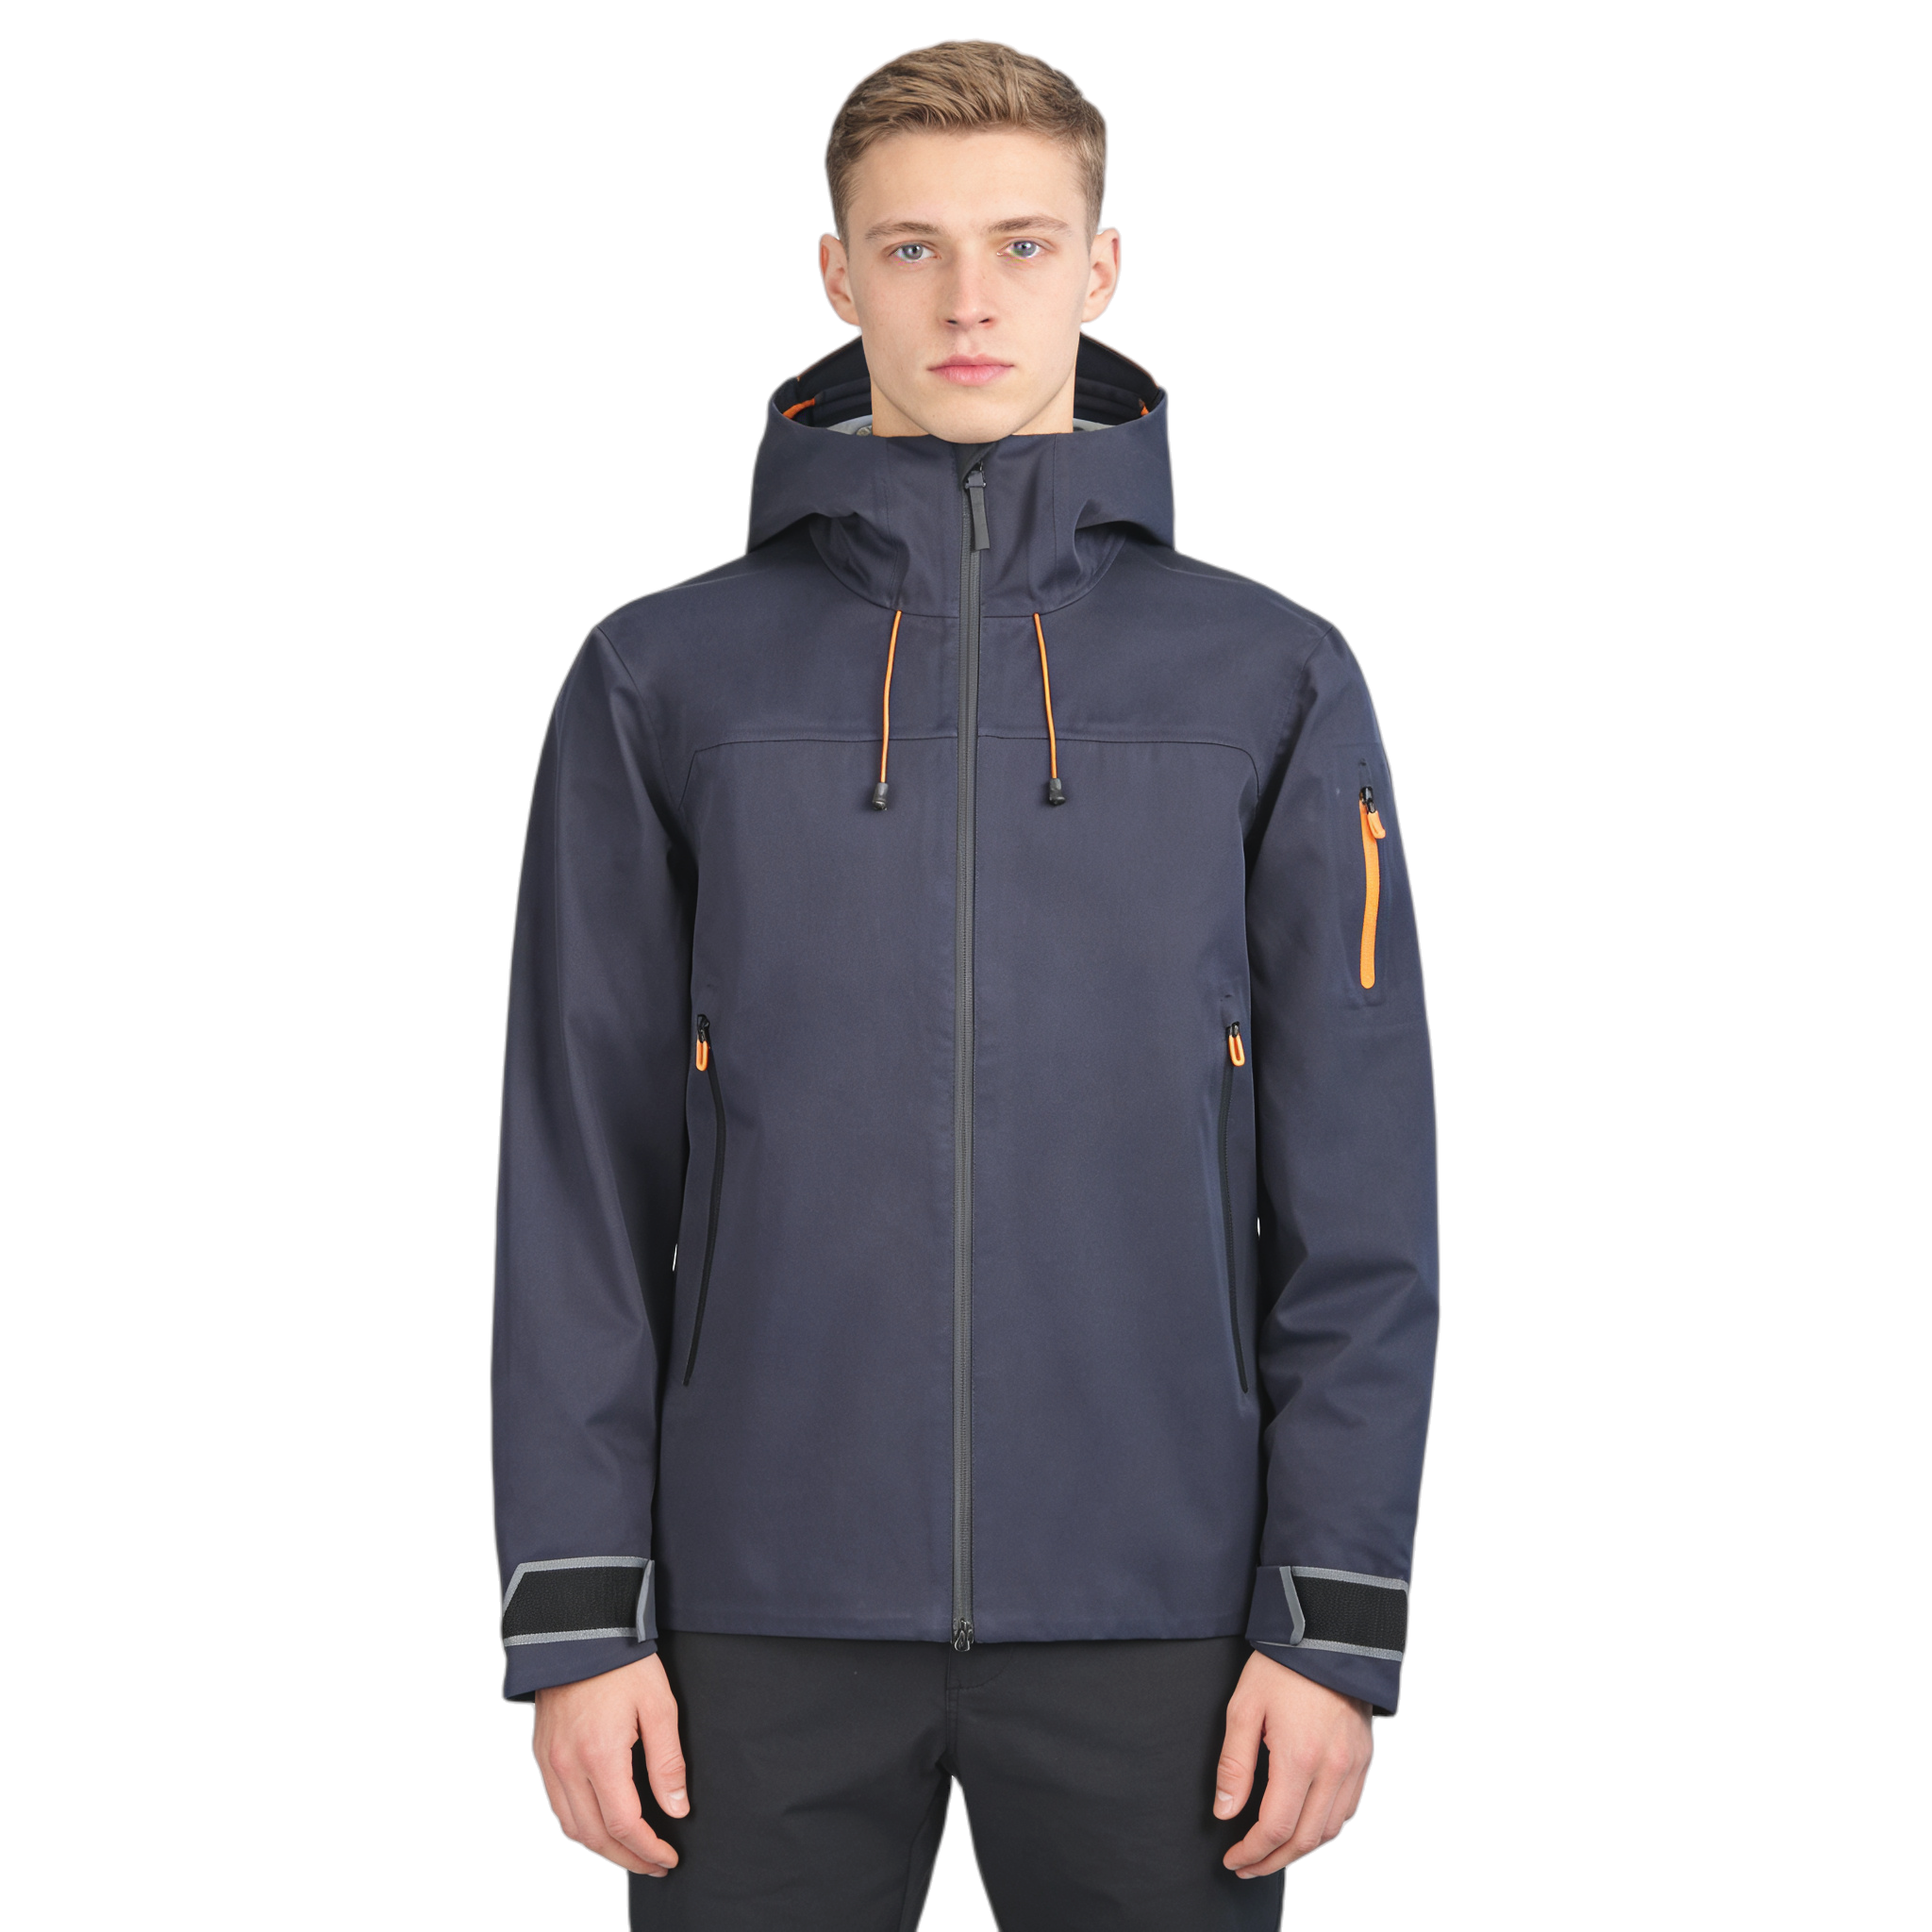
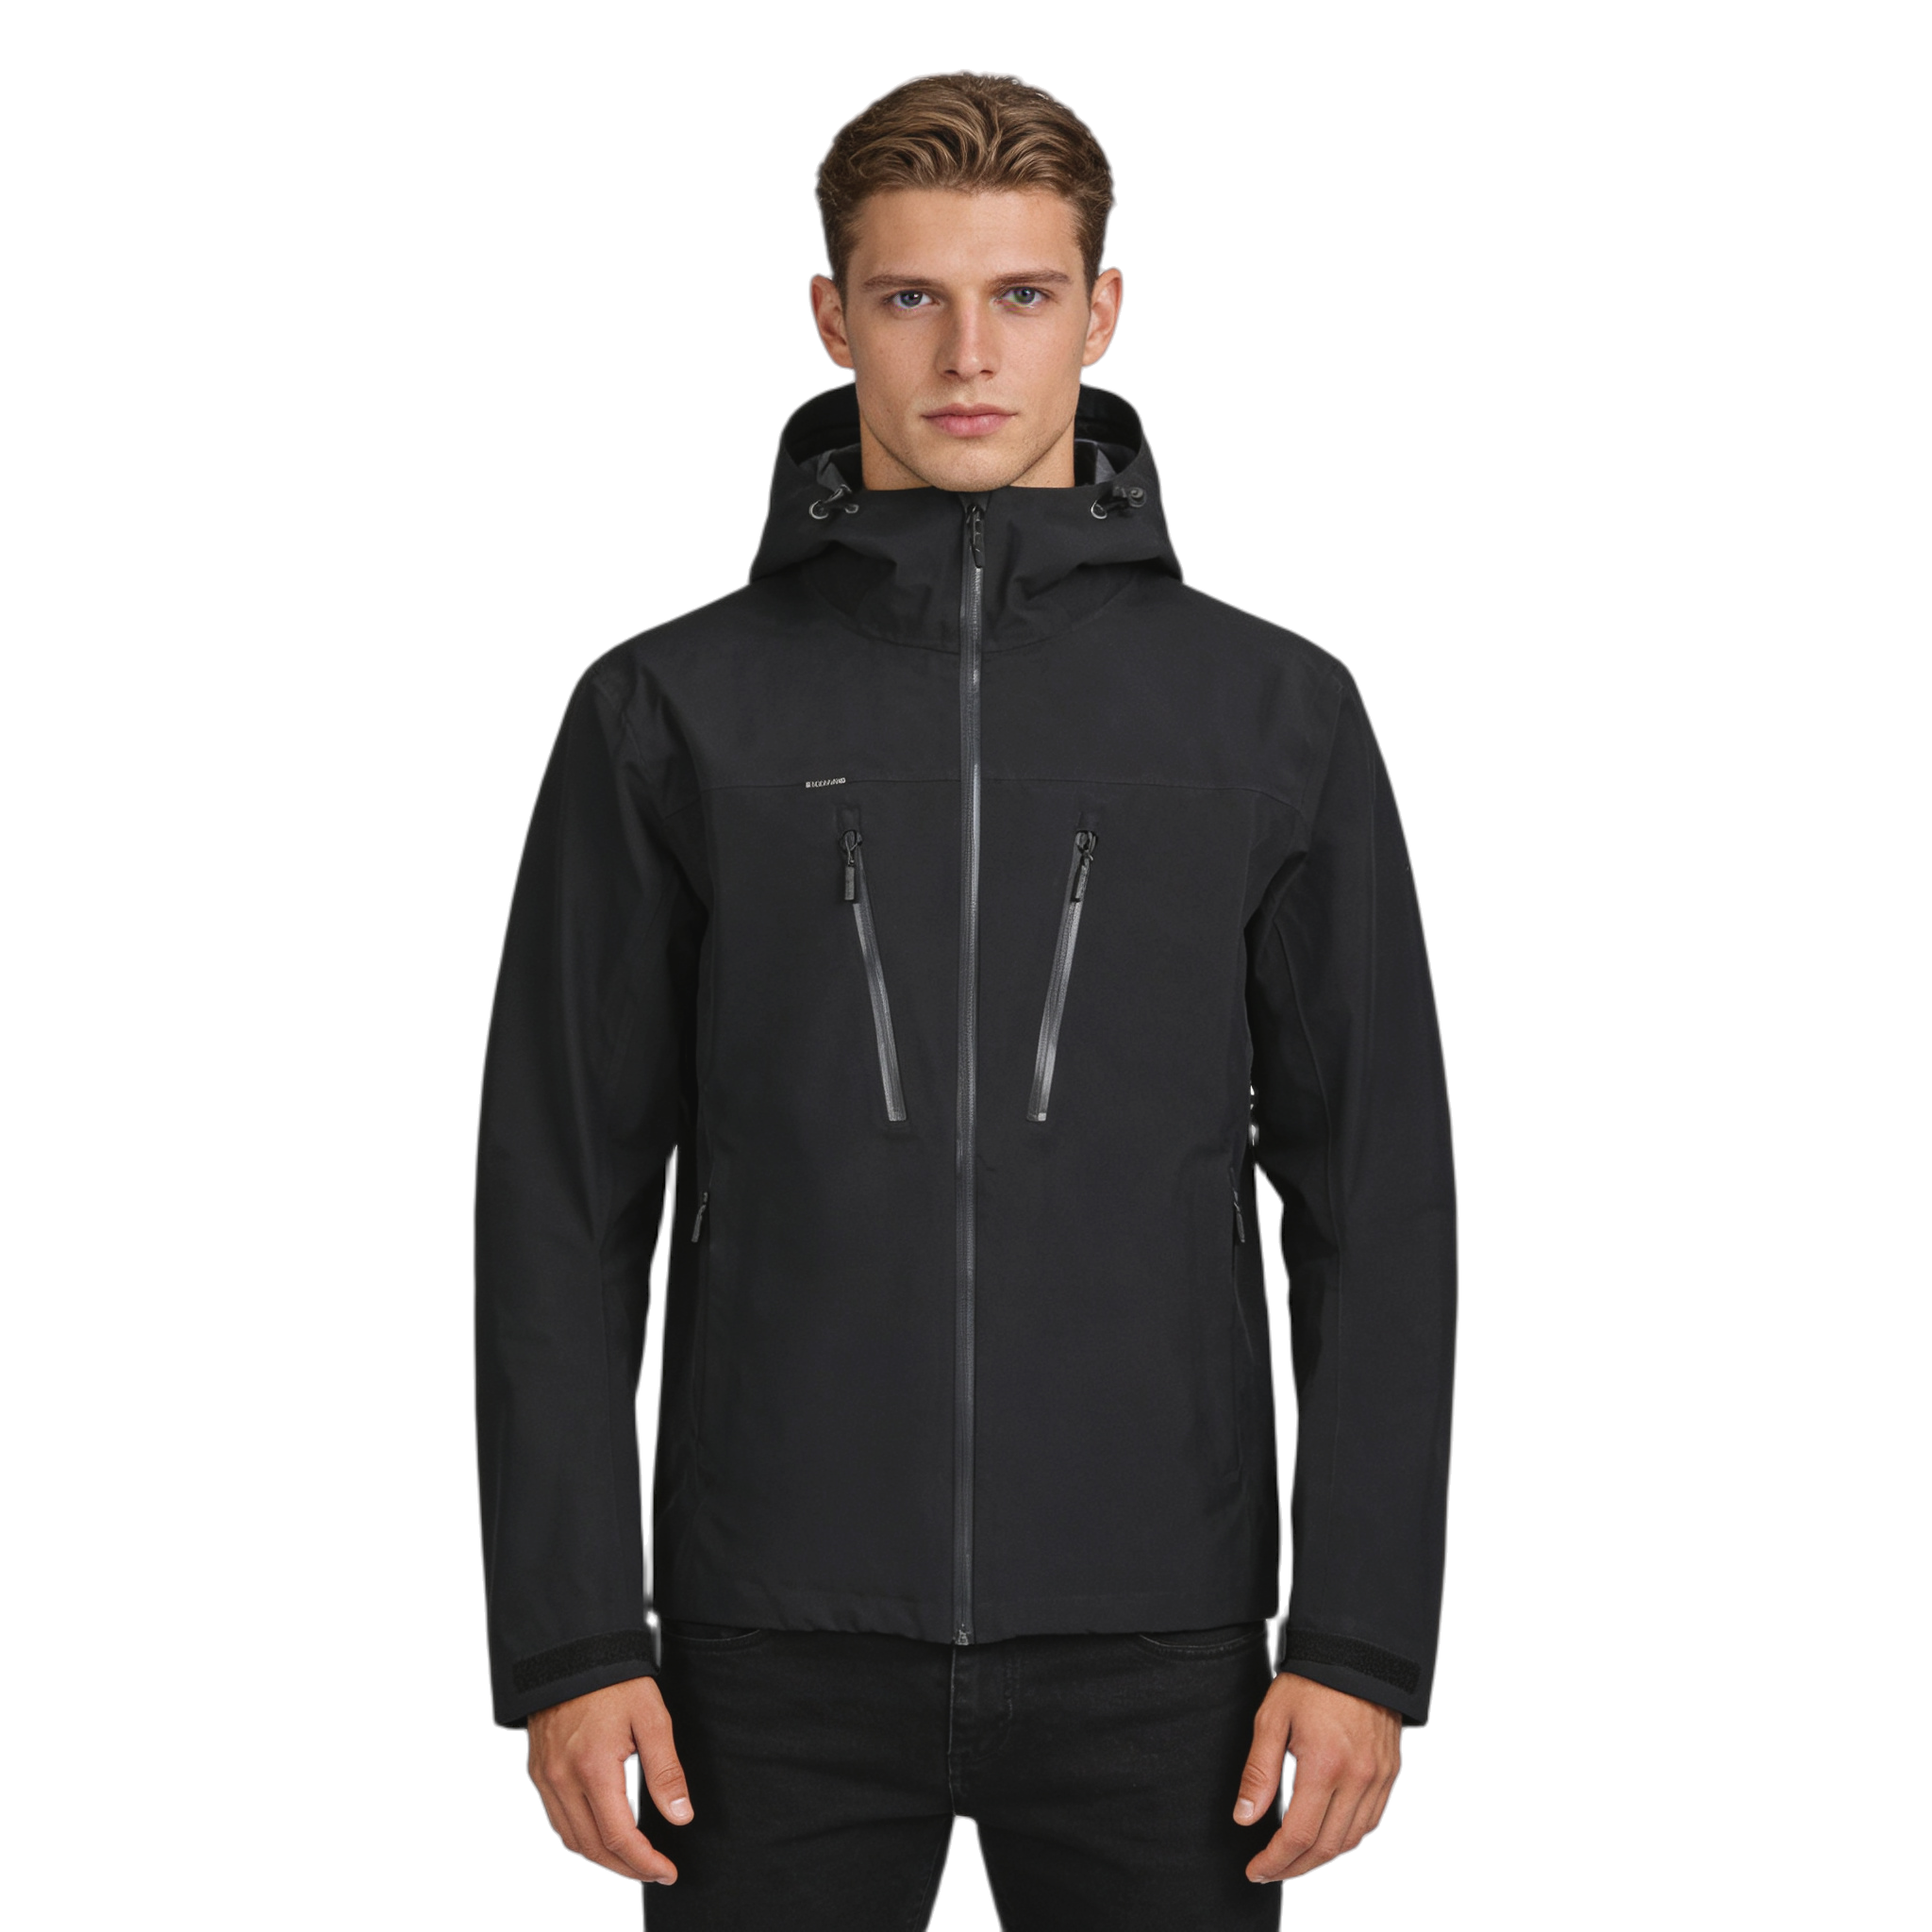
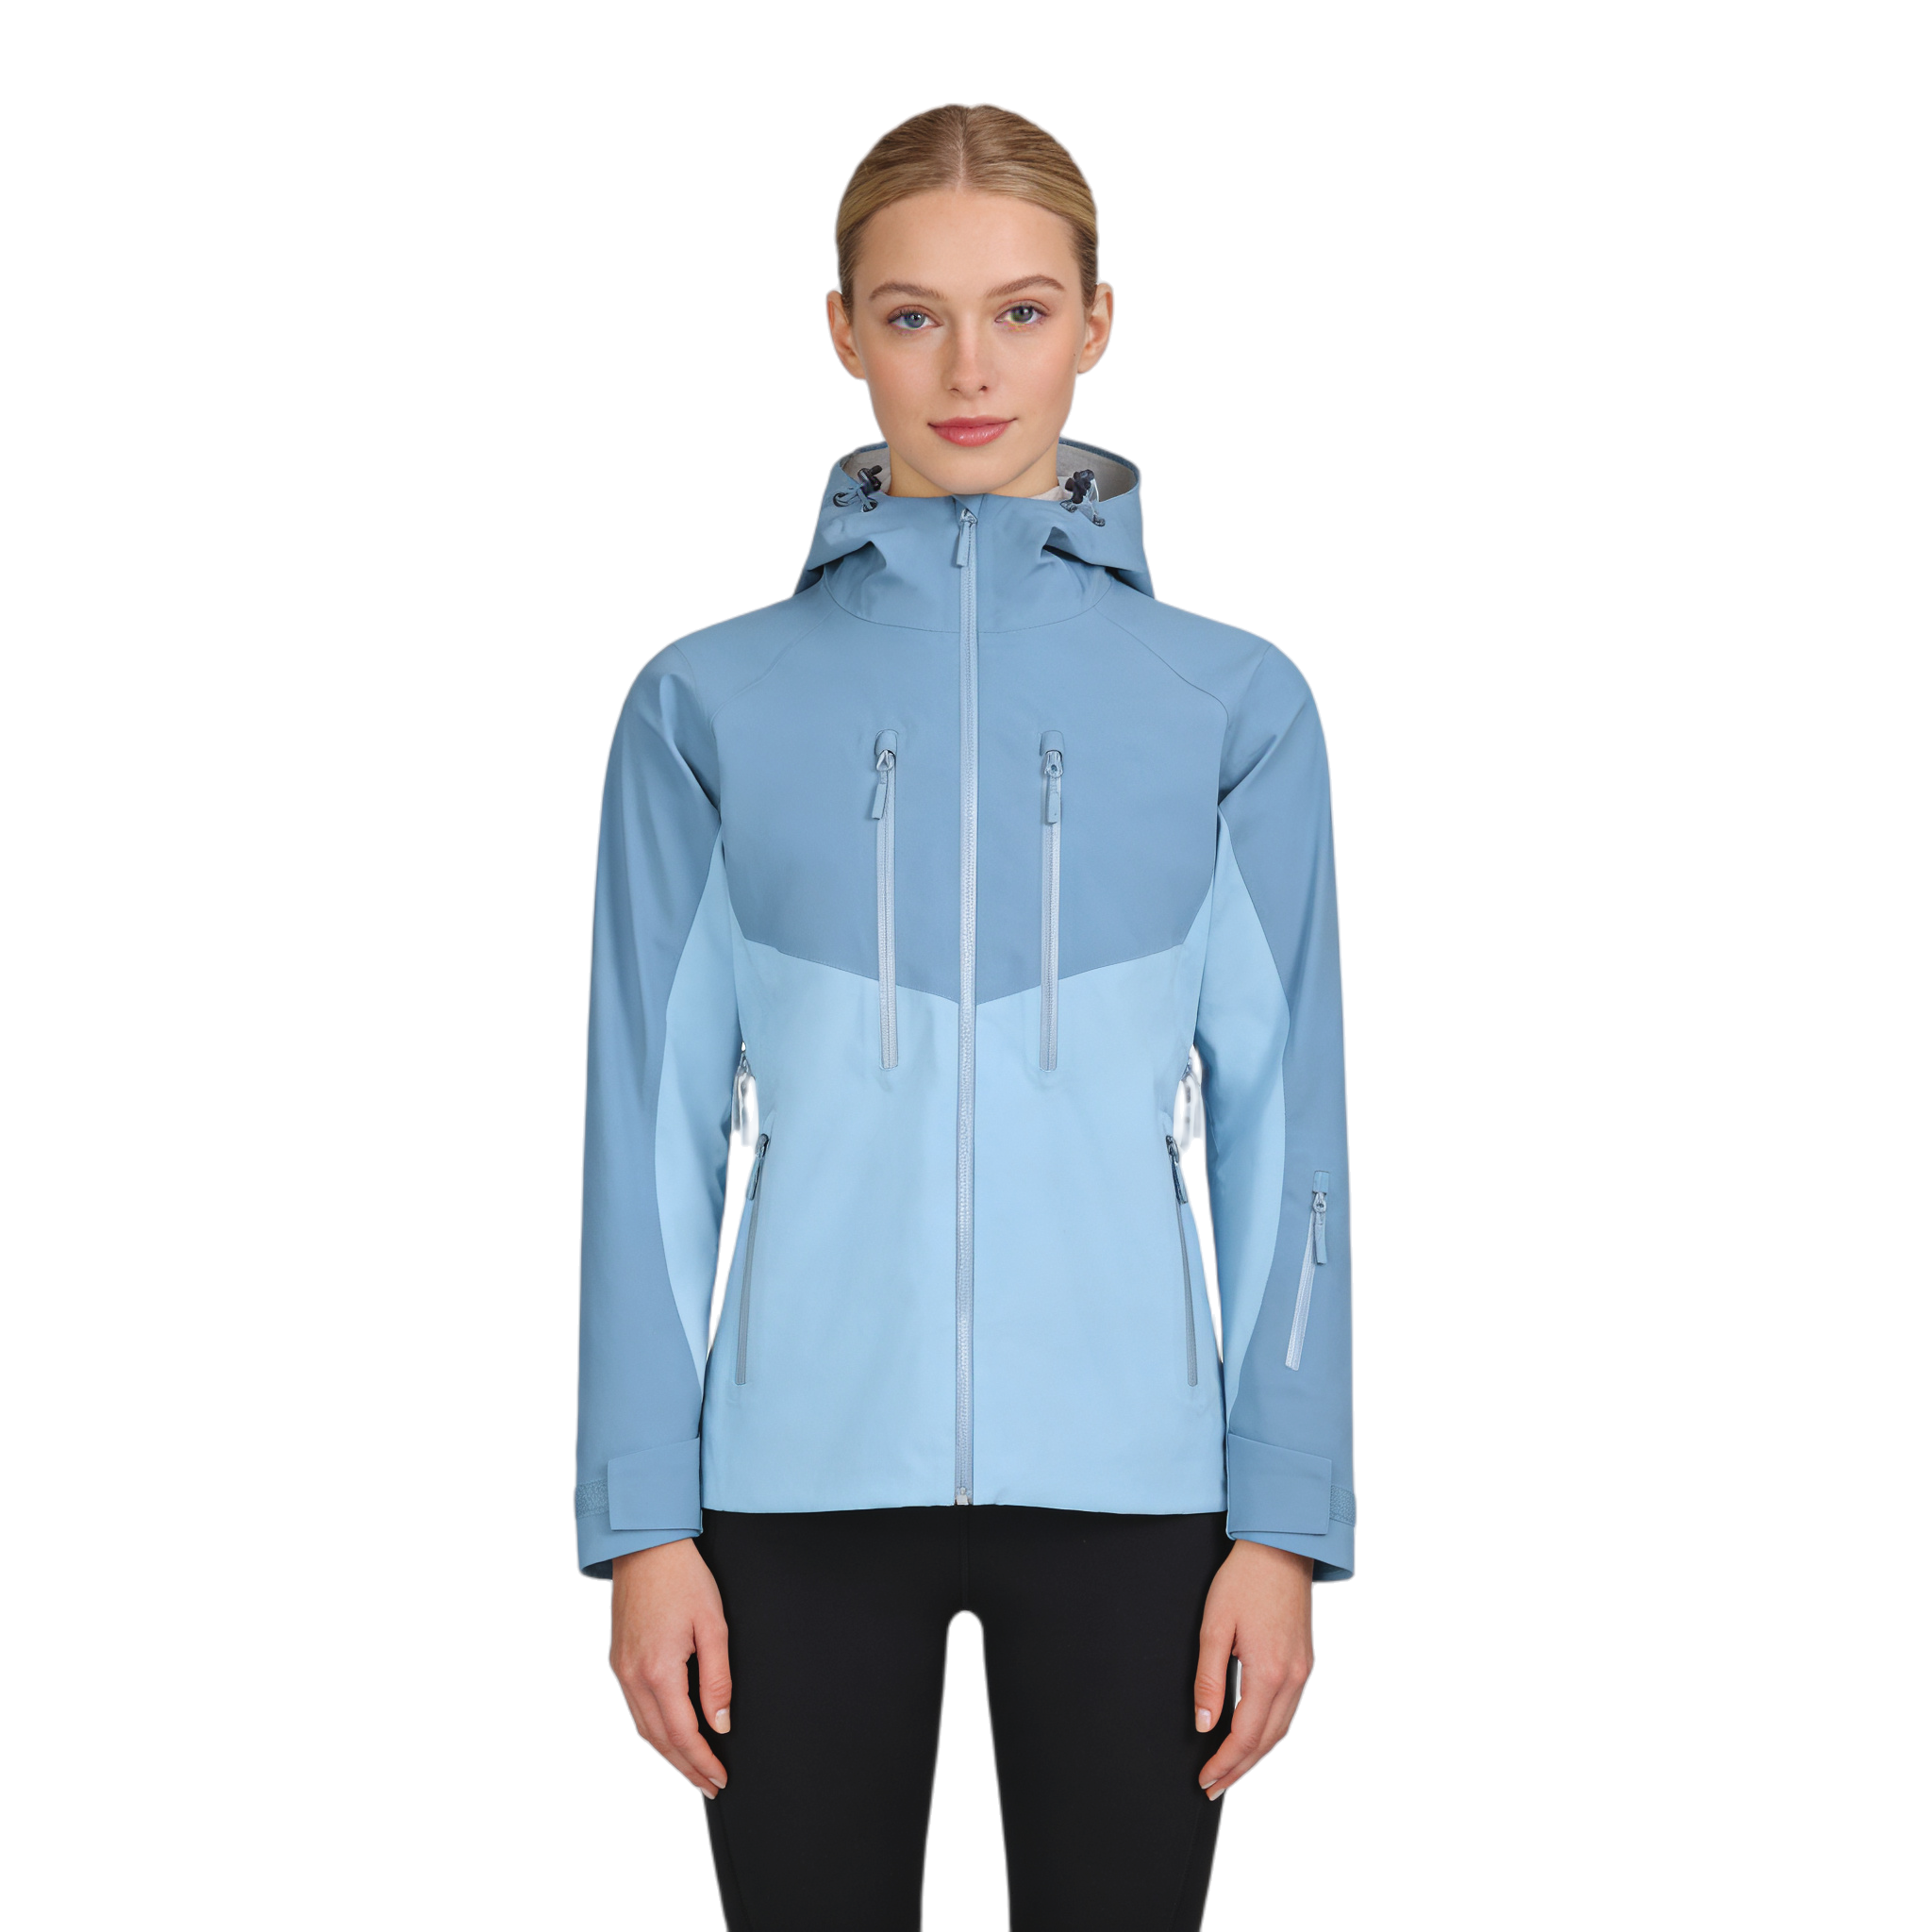
Four things working together: taped hood seams including the hood-to-body crossover, a wired brim that projects the drip line clear of the face, front adjusters that close the face opening to cheek level, and a collar high enough to stop water reaching the neck. The hood fabric is usually the same laminate as the shell, so the hood is a construction question rather than a material one.
6-9 cm of brim depth with a 2.5-3 mm wire insert holds the brim off the face and throws water clear of the forehead and glasses. Shorter brims drip inside the collar line; longer brims obstruct peripheral vision and fold more easily in wind. The wire channel needs closed ends and bar-tacks so the wire cannot migrate during washing.
A helmet-compatible hood has extra crown volume measured over a helmet, a rear volume adjuster that compresses that volume for a bare head, and single-hand front cords. A standard technical hood has a smaller crown and sits closer to the head. Using a helmet hood without a helmet leaves the brim too far forward; using a standard hood over a helmet leaves the crown tight and the hood lifting when the wearer looks up.
On a finished garment, not on fabric: an EN 14360 rain-tower run, a brim drip check on a mannequin head, a peripheral-vision and head-turn check with cords tensioned, a helmet fit trial across at least two helmet sizes, a wind-stability check at 15-20 m/s, and wash durability to ISO 6330 at 20 and 40 cycles with wire, adjuster and tape re-inspected afterwards.
Yes, most visibly at the brim. Fluorine-free finishes shed water differently, so the brim and hood edge - which are folded, handled and abraded more than flat panels - can wet out sooner and start wicking along the wire channel. Re-test brim drip behaviour and hood seam adhesion on the new finish instead of assuming the previous construction still holds.