How to Design Functional Outdoor Workwear: From Concept to Production
Functional workwear design is applied problem-solving: every pocket, panel, and seam exists to serve a worker in a specific environment. When design decisions trace back to real working conditions, garments get adopted and worn out. When they don't, garments end up in lockers. This guide lays out the ten-step process that separates professional workwear design from fashion design with pockets.
For the manufacturing side of workwear, see our custom workwear manufacturing guide and the outdoor vs workwear comparison.
Steps 1-3: Analysis, Requirements, and Fabric
Step 1 - Needs analysis. Start in the field, not the sketchbook. Document the work environment: temperature range, moisture exposure, physical intensity, hazards (sparks, chemicals, machinery, traffic), and the movements the job demands. Interview the people who will wear the garment - their complaints about current kit are your requirements list.
Step 2 - Functional requirements. Translate the analysis into three buckets: safety (flame retardancy, high visibility, anti-static, cut resistance), comfort (breathability, moisture management, ergonomic freedom of movement), and utility (pockets for actual tools, reinforcement at actual wear points, visibility of critical controls). Prioritize ruthlessly - safety requirements are mandatory, everything else is ranked by frequency of use.
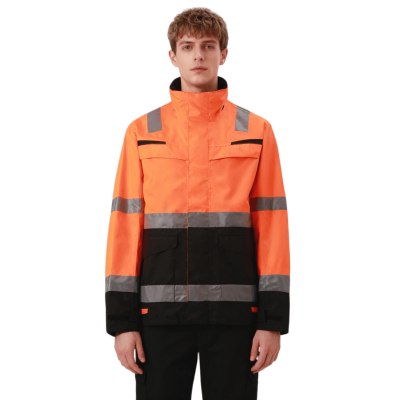
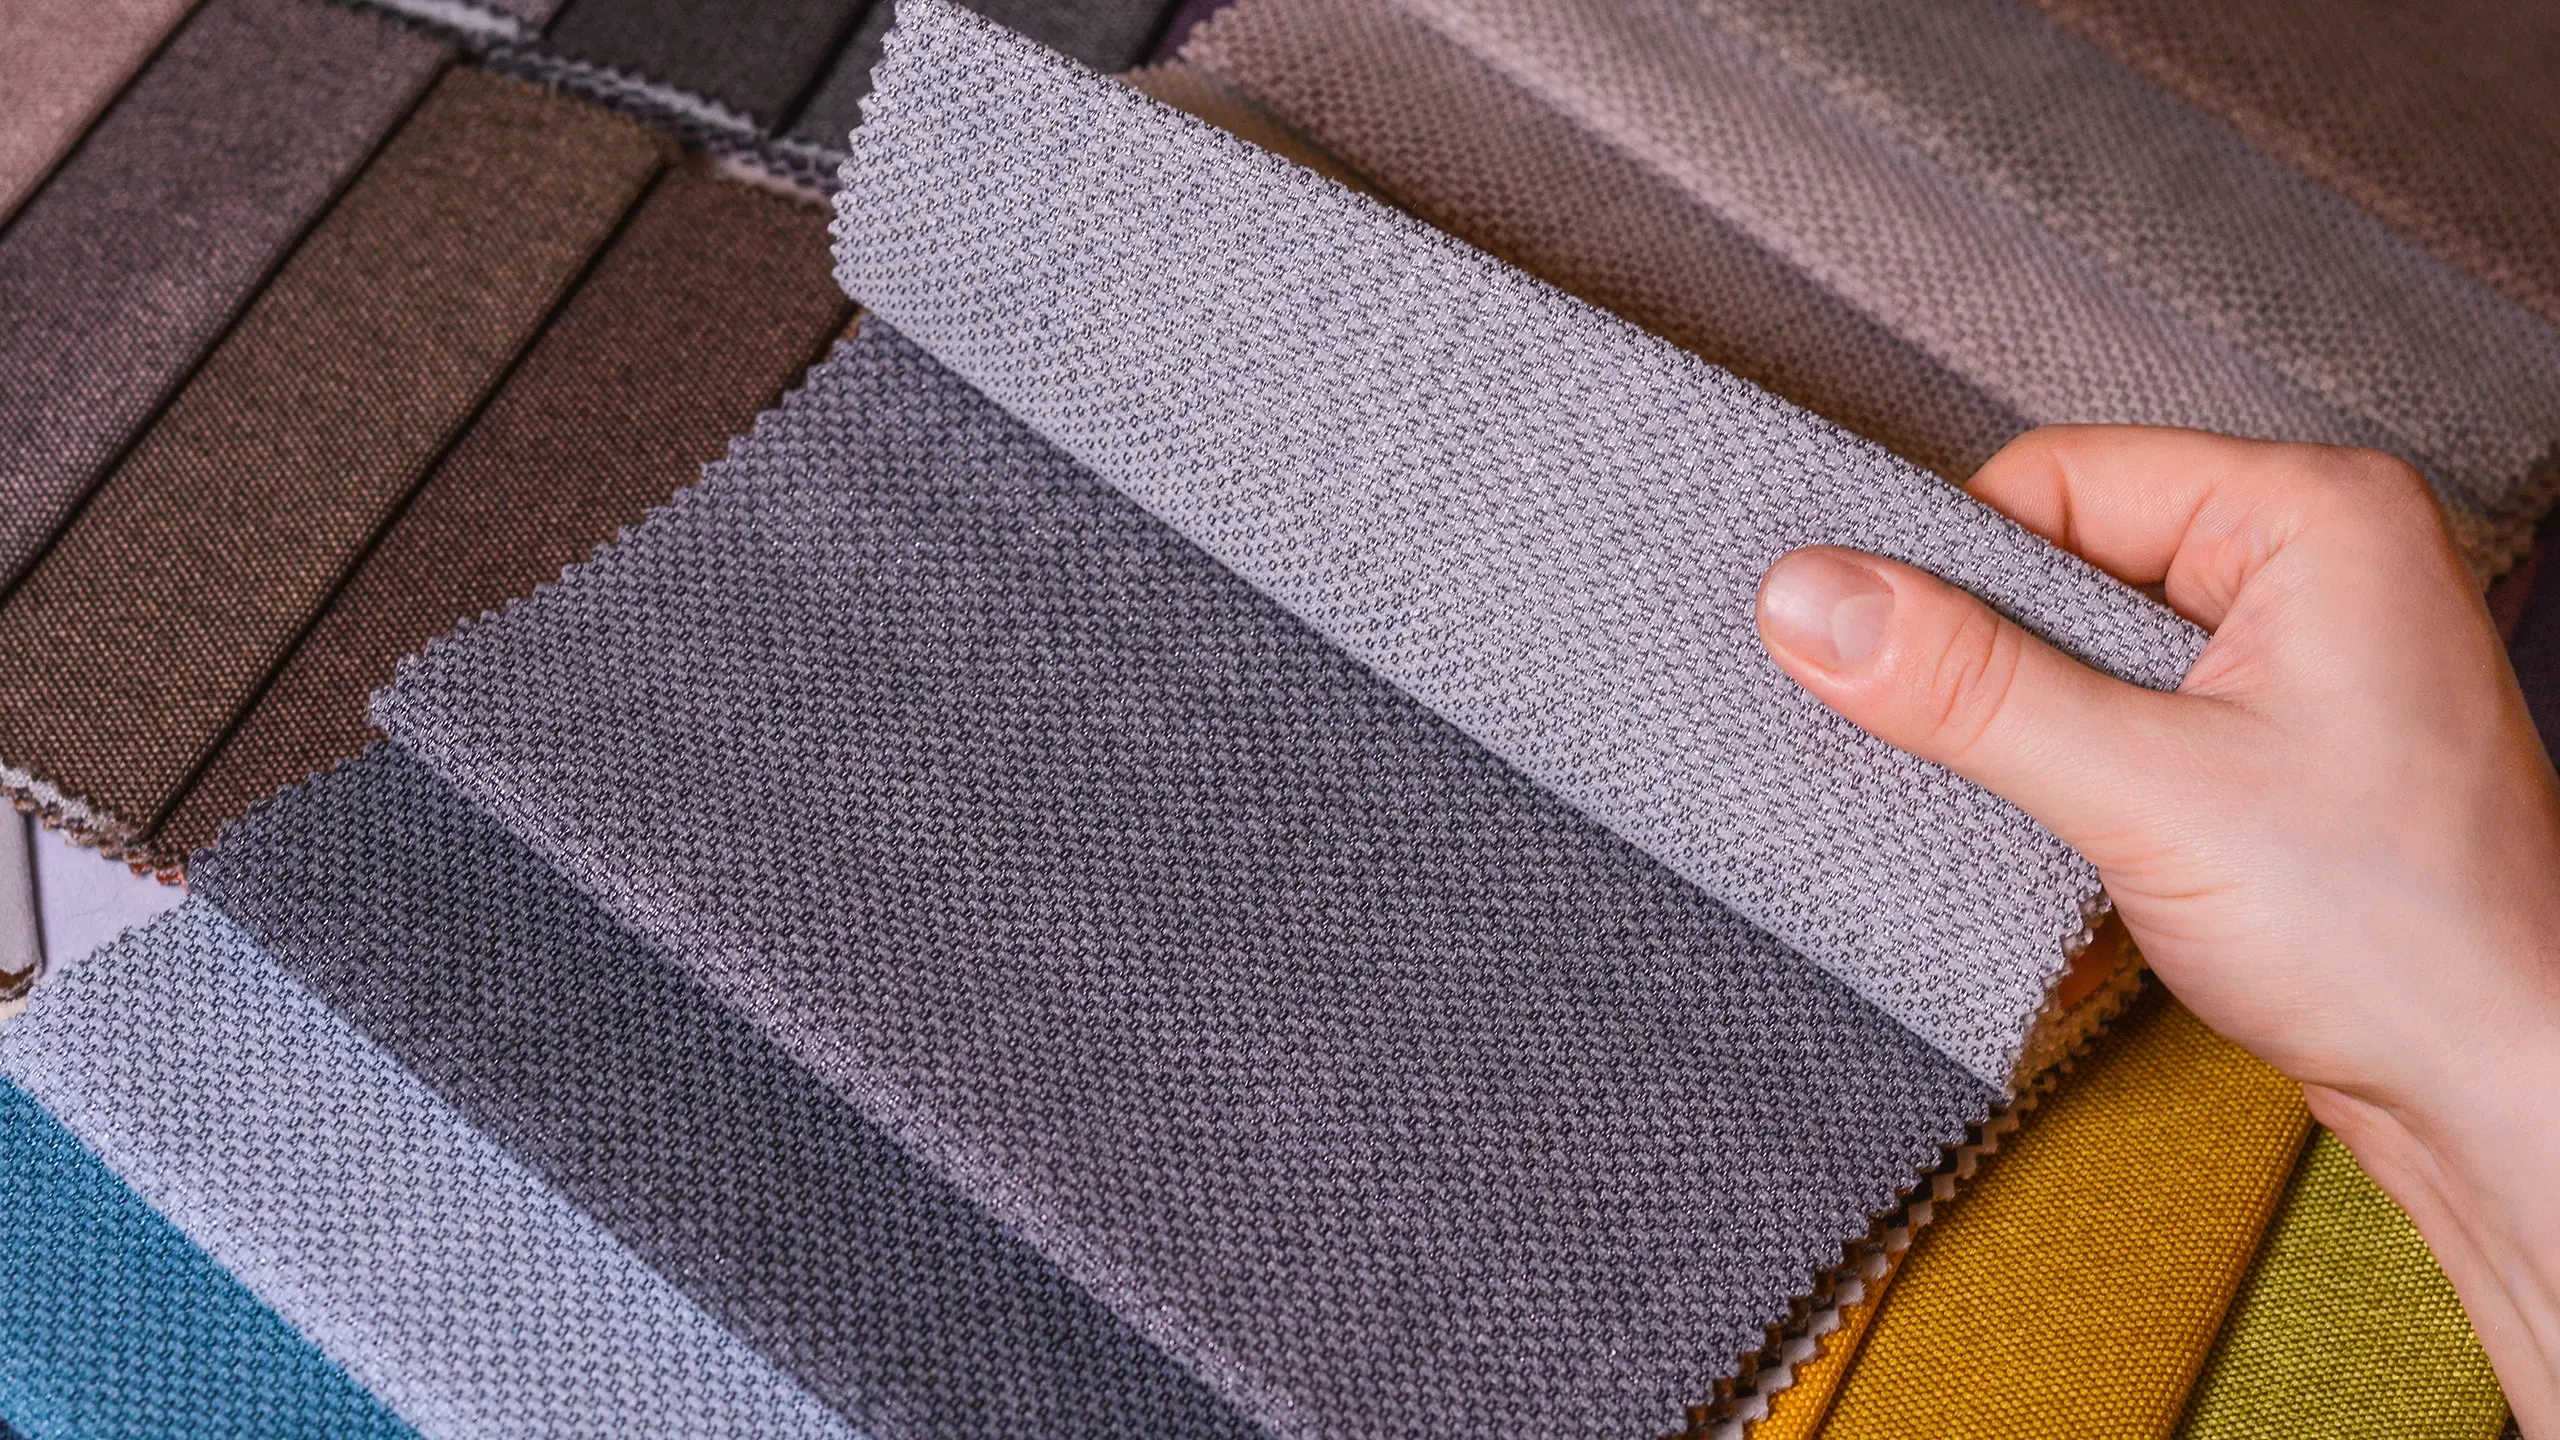
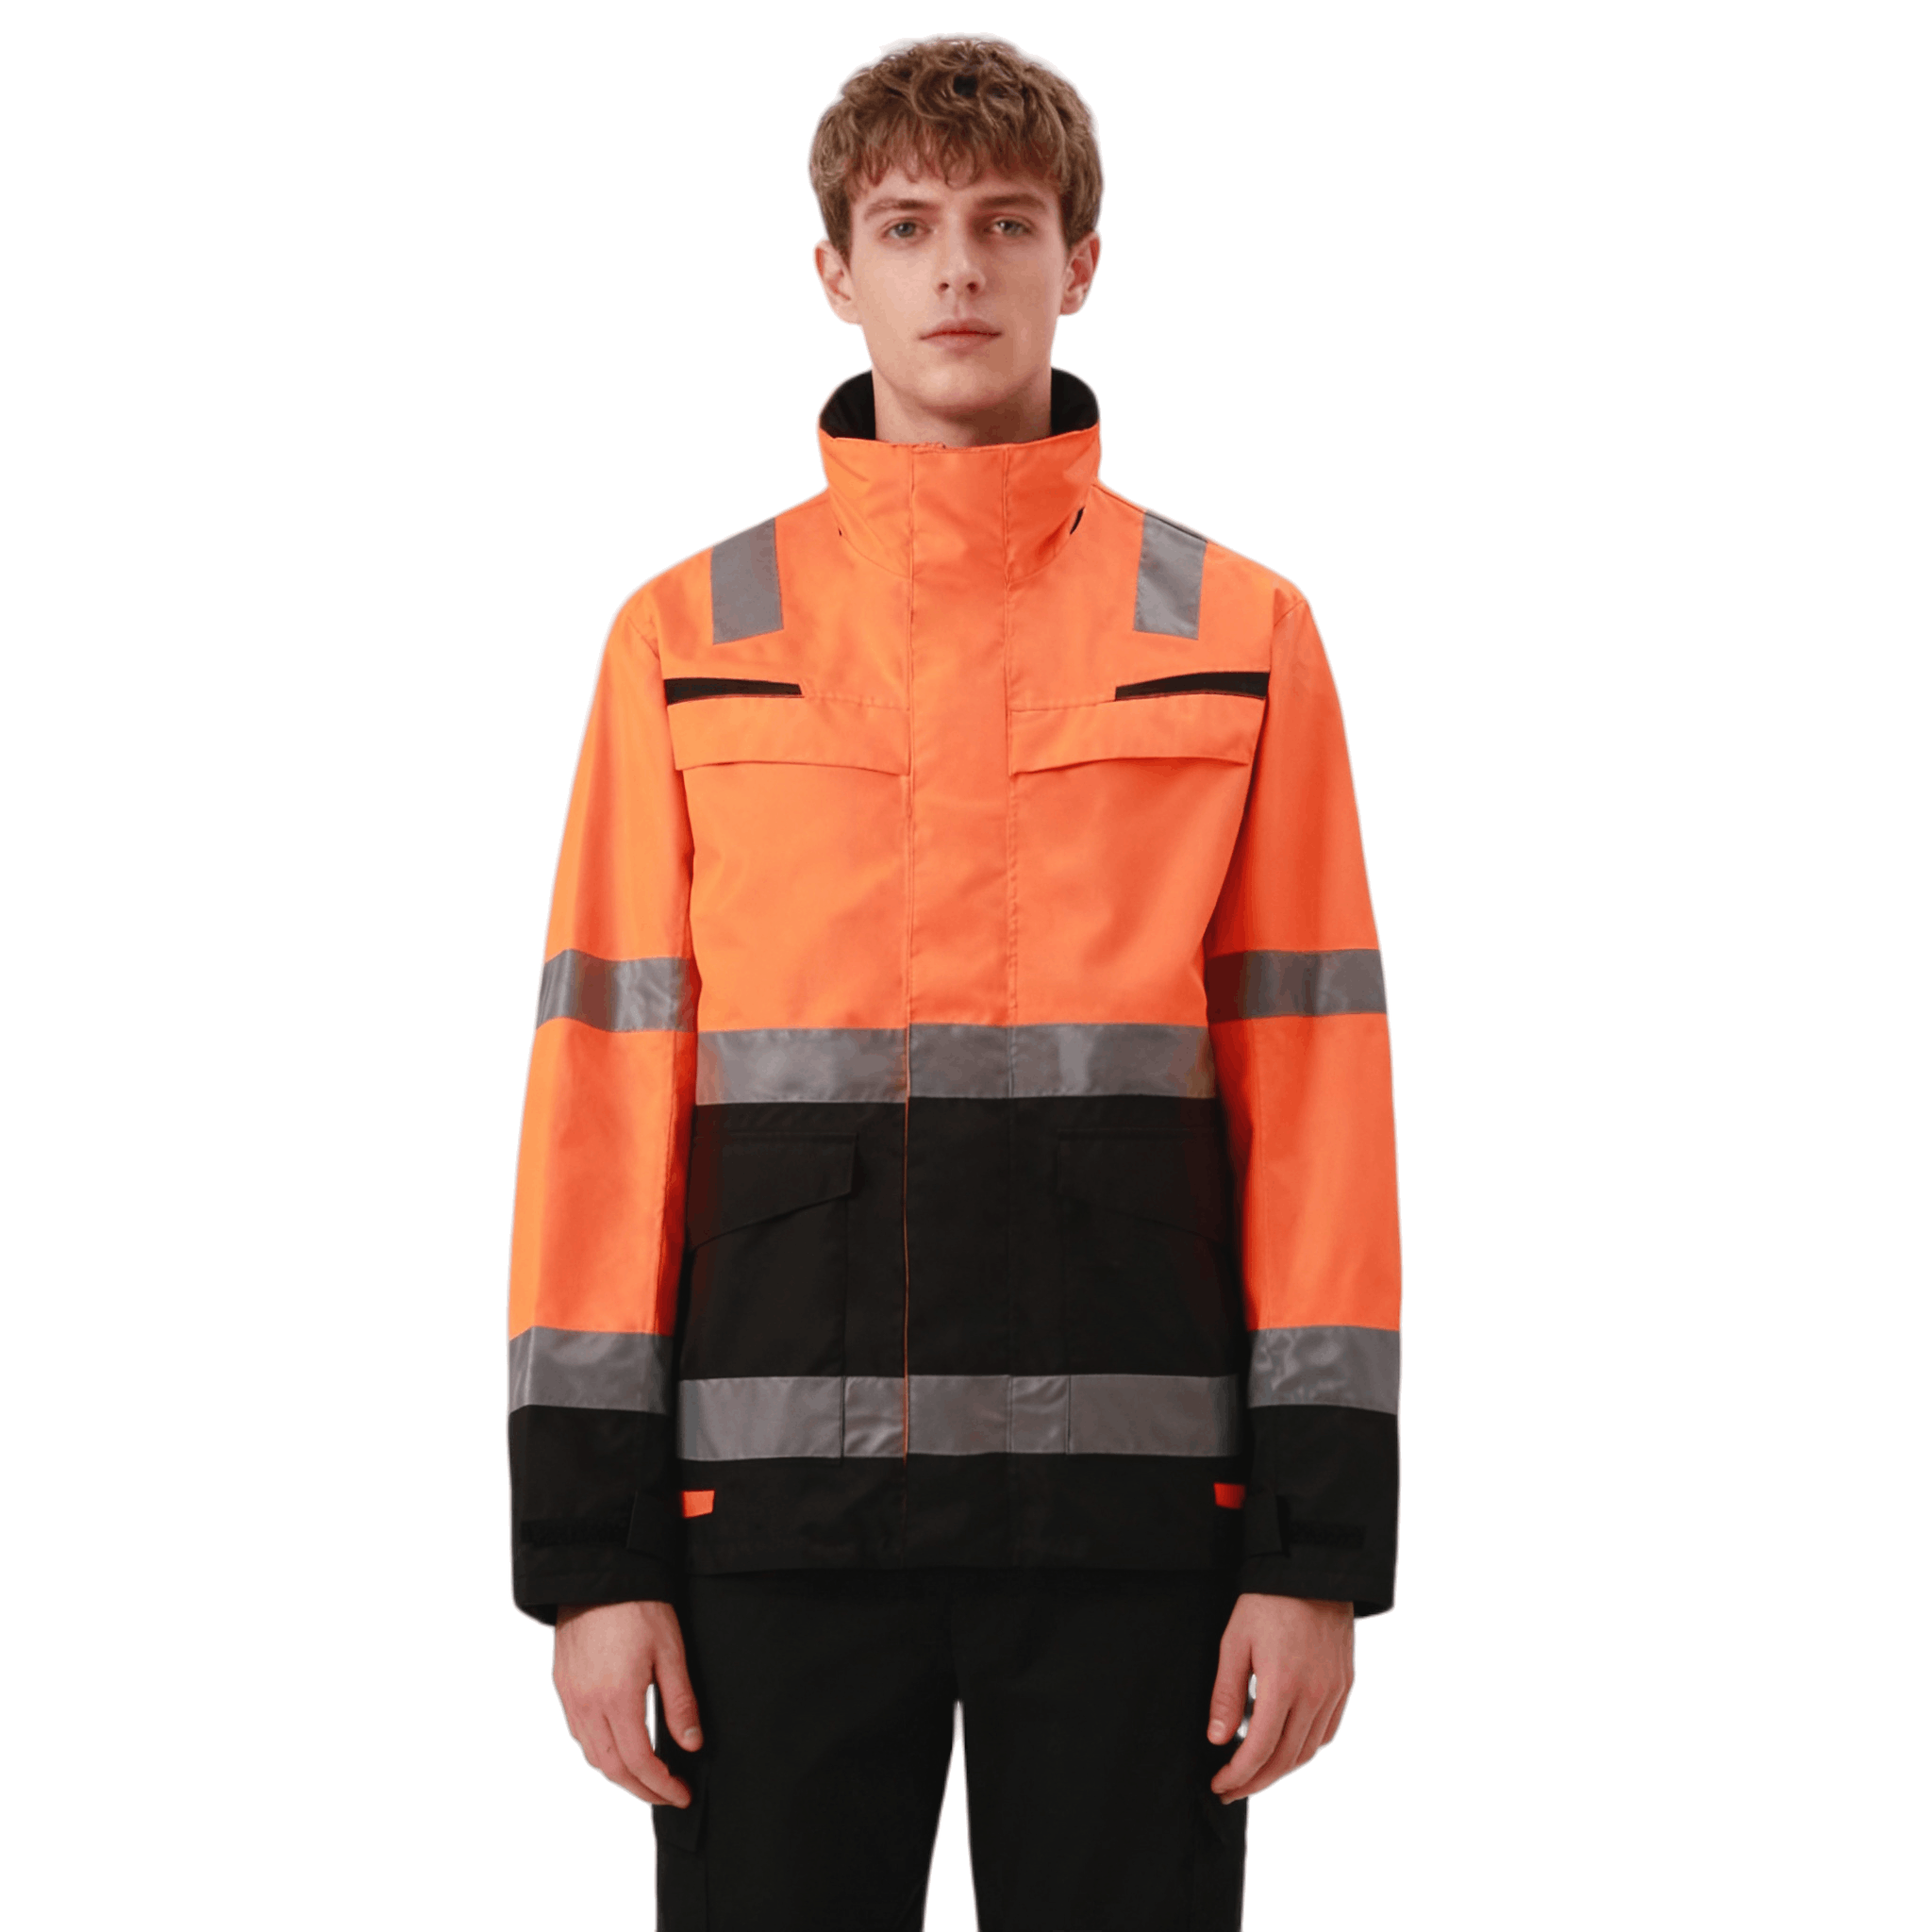
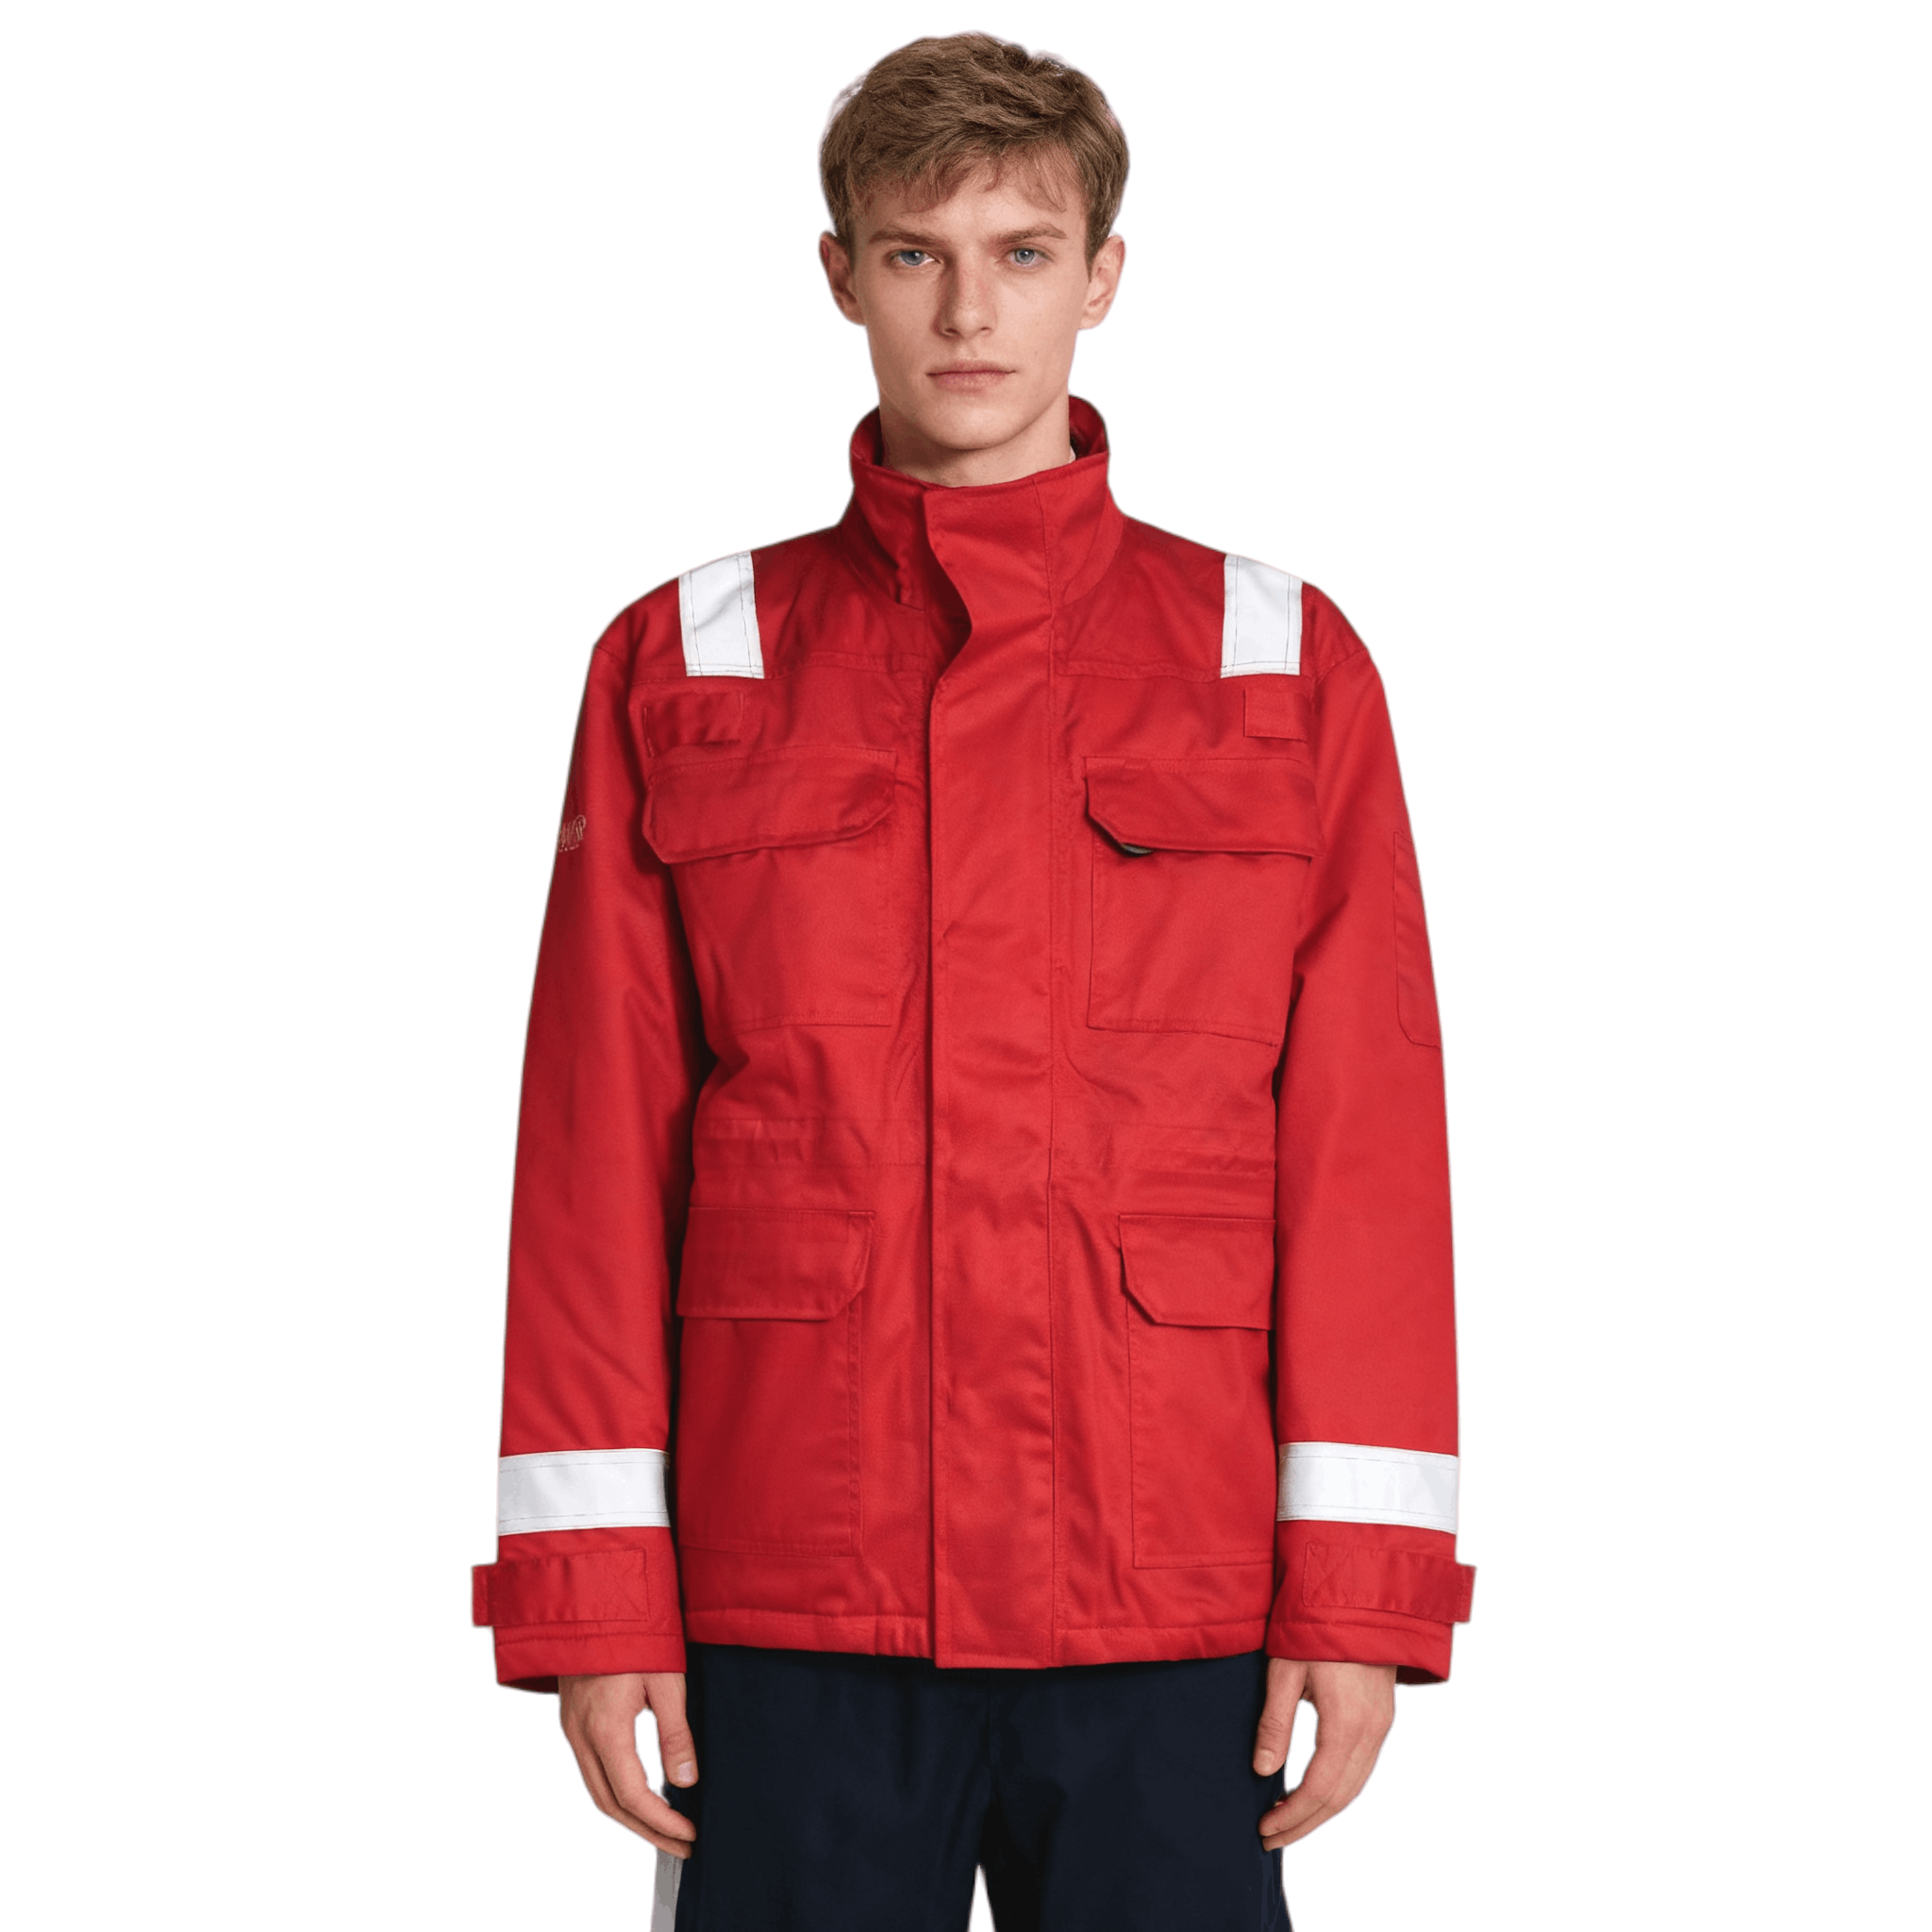
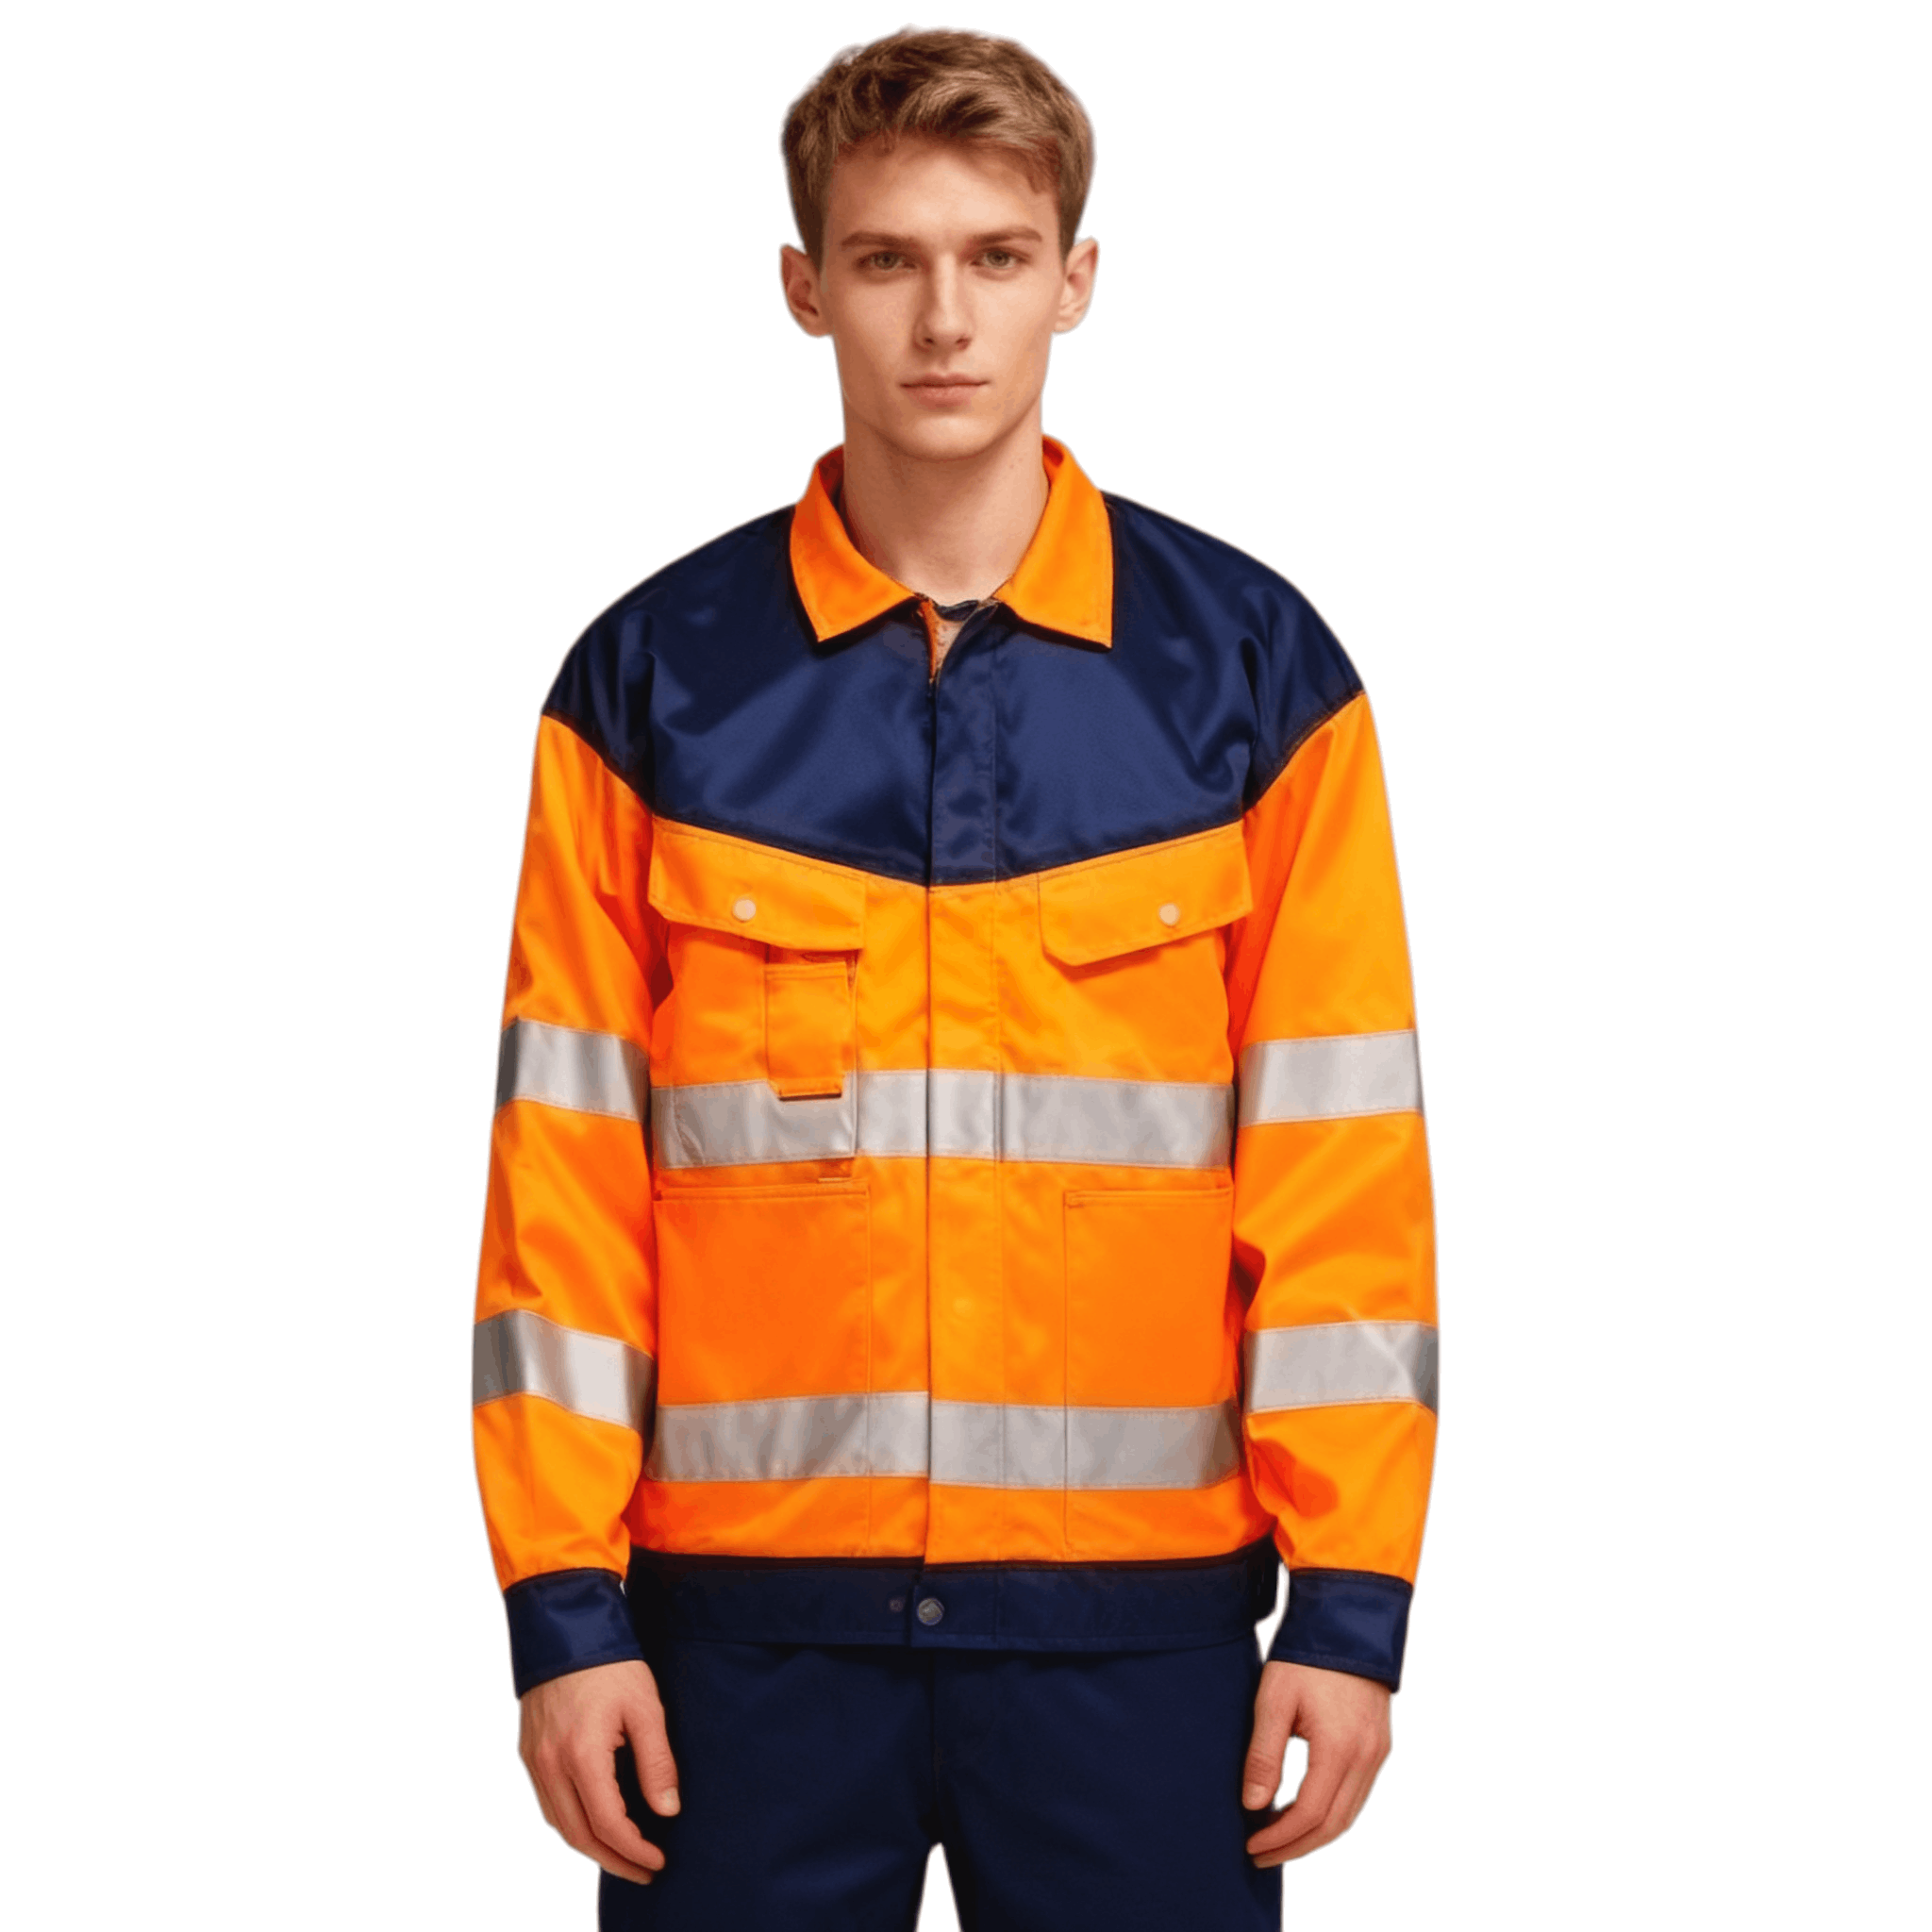
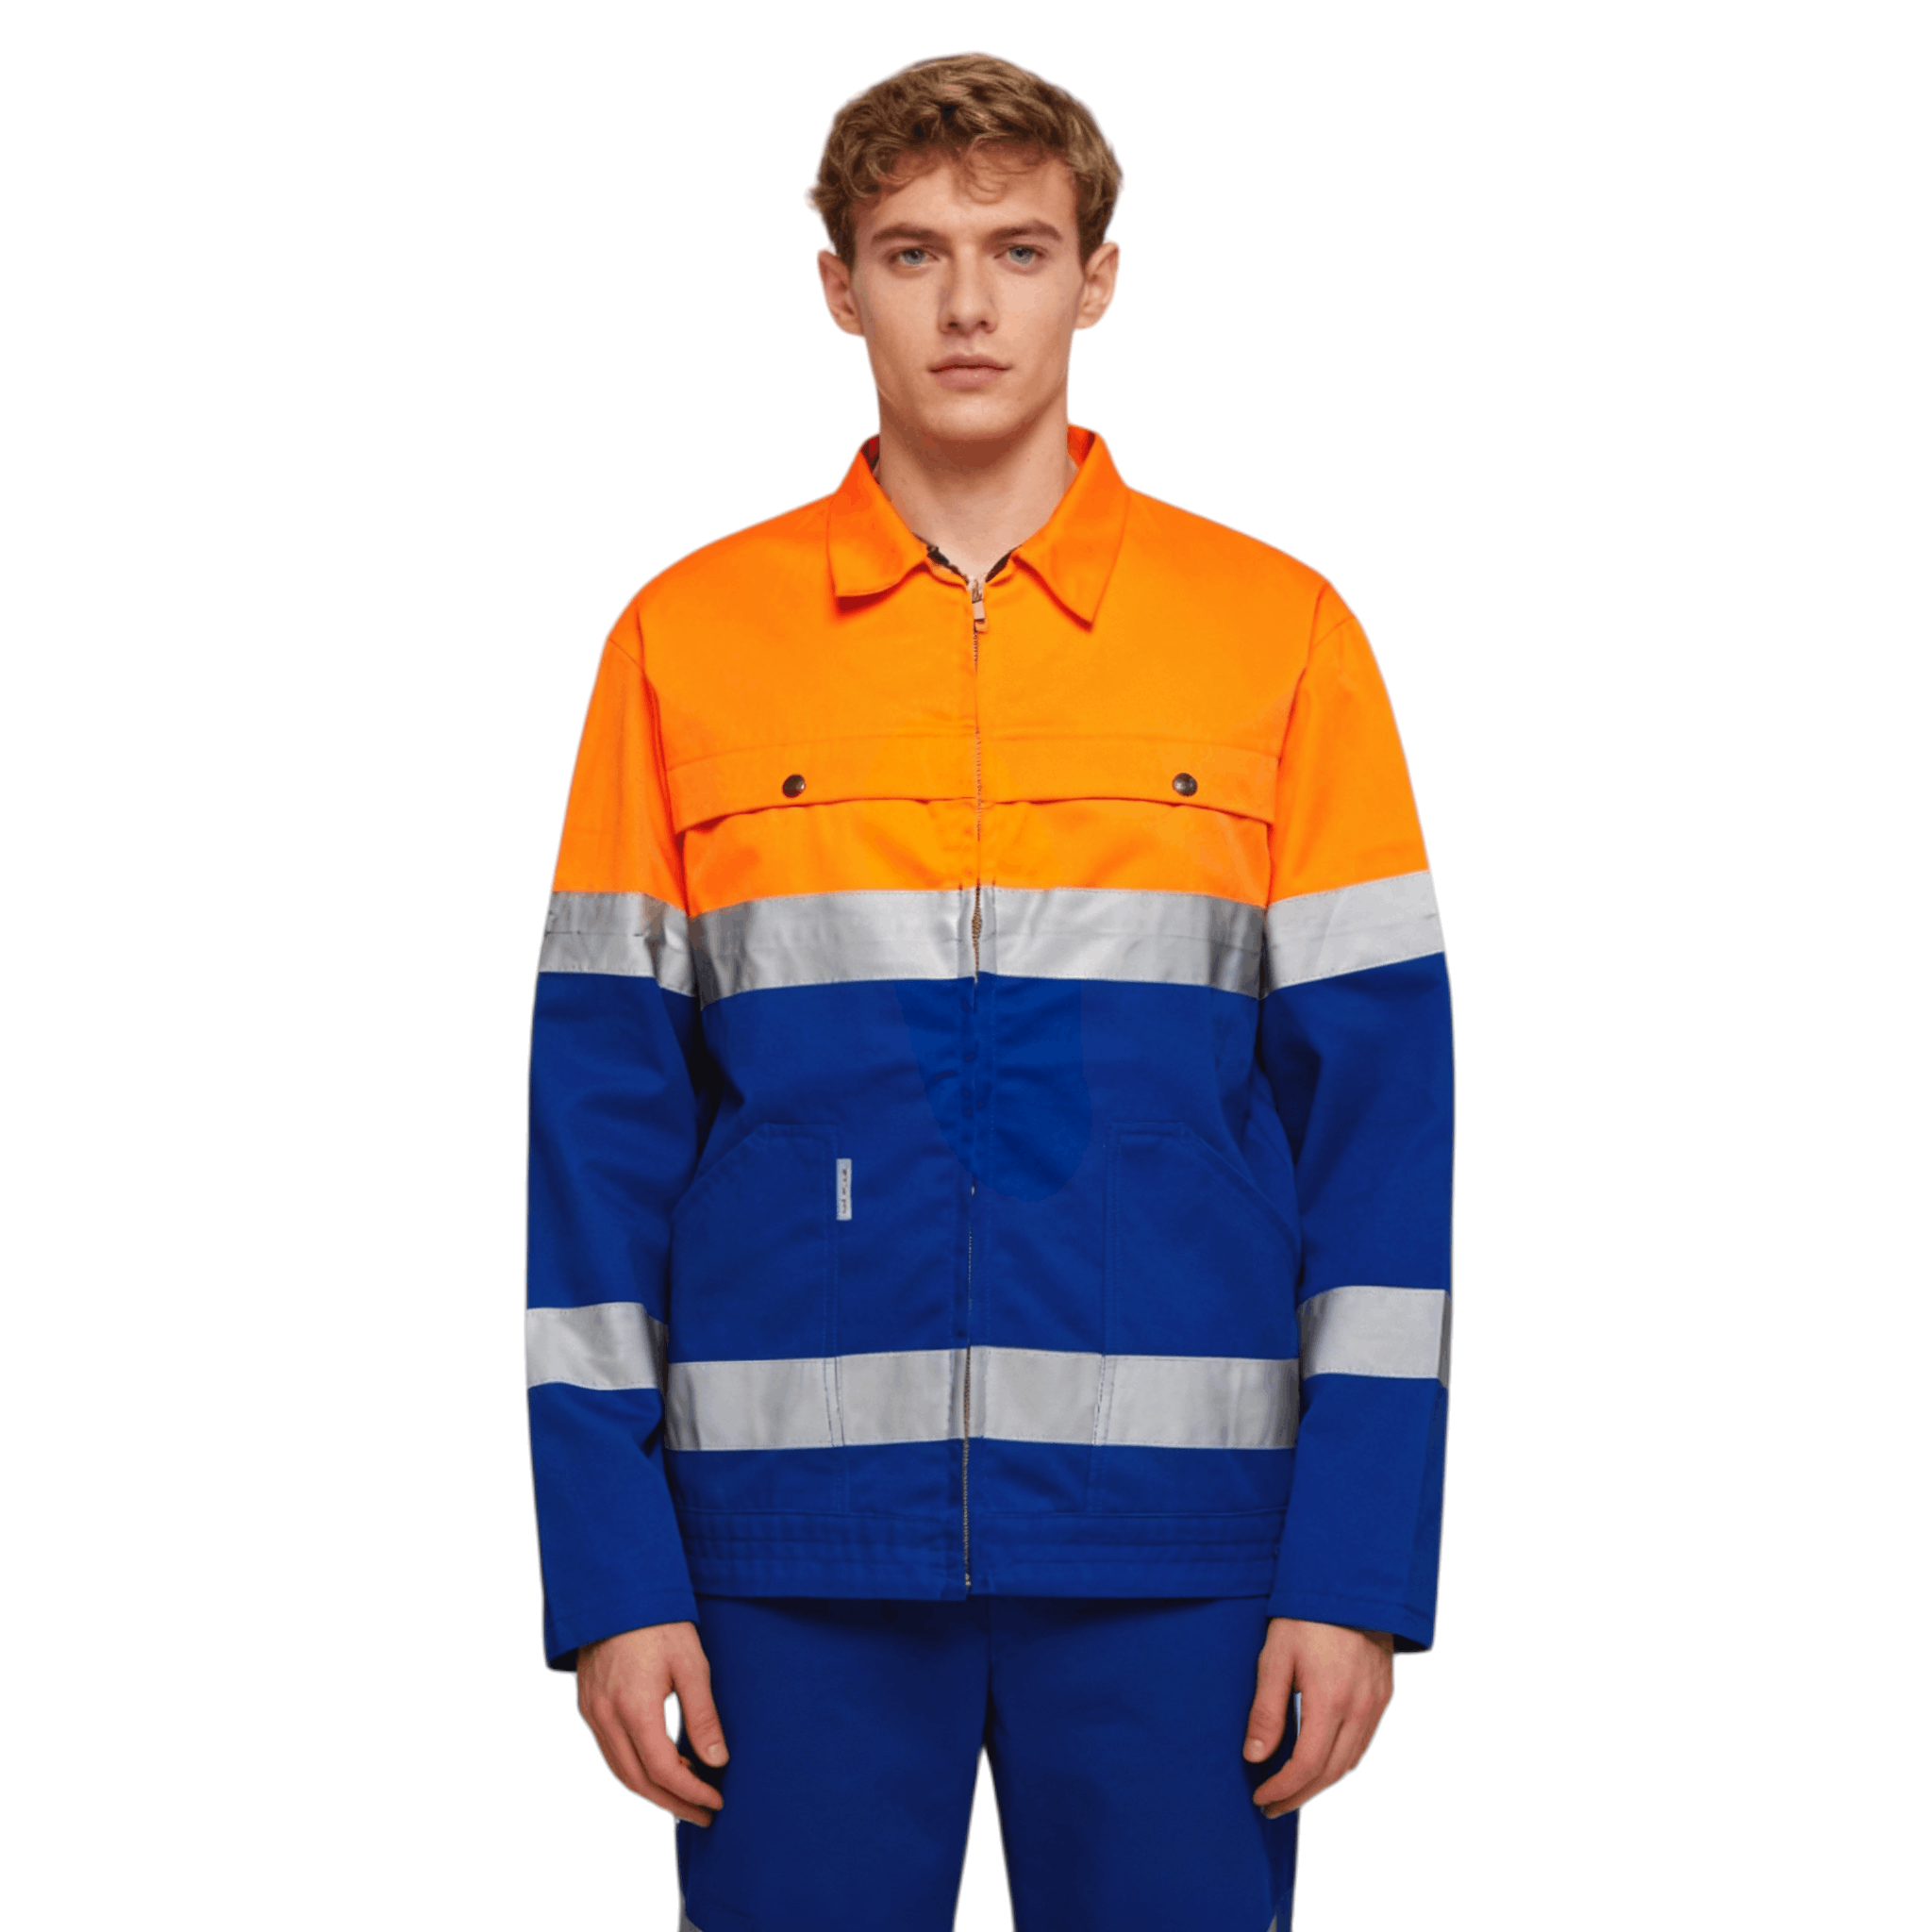
Step 3 - Fabric selection. Match fabric to requirement: aramid fabrics (Nomex, Kevlar blends) for inherent flame protection, FR-treated cotton for comfort-oriented industrial wear, Cordura reinforcement panels at wear points, high-visibility fluorescent fabric with retroreflective tape for roadside work, and waterproof-breathable laminates for outdoor all-weather roles. Fabric weight follows duty cycle - our GSM guide applies to workwear too.
Add photo here: designer analyzing worker movement patterns and sketching ergonomic workwear patterns at a design workstation
Steps 4-6: Pattern Design, Features, and Prototyping
Step 4 - Ergonomic pattern design. Workwear patterns differ from fashion patterns: they add room and articulation where workers reach, kneel, and crouch. Key techniques: articulated elbows and knees, gusseted crotches for squatting, longer backs for bending, and mobility zones using stretch panels. A garment that binds during work fails regardless of how well it is sewn.
Step 5 - Feature integration. Design features as a system. Pockets sized and placed for the actual tools of the job (a tape measure, a tablet, gloves), positioned for access in the working posture - not standing upright in a showroom. Reinforcement goes where wear actually occurs. Reflective placement follows the standard's coverage requirements while respecting movement. Removable components (hoods, linings, ID panels) multiply garment utility across seasons and roles.
Step 6 - Prototype and wear testing. Expect 2-3 sample rounds at 7-14 days each. Crucially, put prototypes on real workers in real conditions - a full workday of wear testing exposes mobility issues, pocket usability, and heat stress that showroom evaluation never finds. Document every complaint; iteration here is the cheapest quality investment in the entire program.
Steps 7-10: Compliance, Optimization, Quality, and Handoff
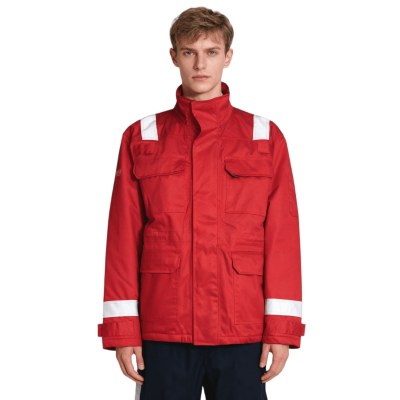
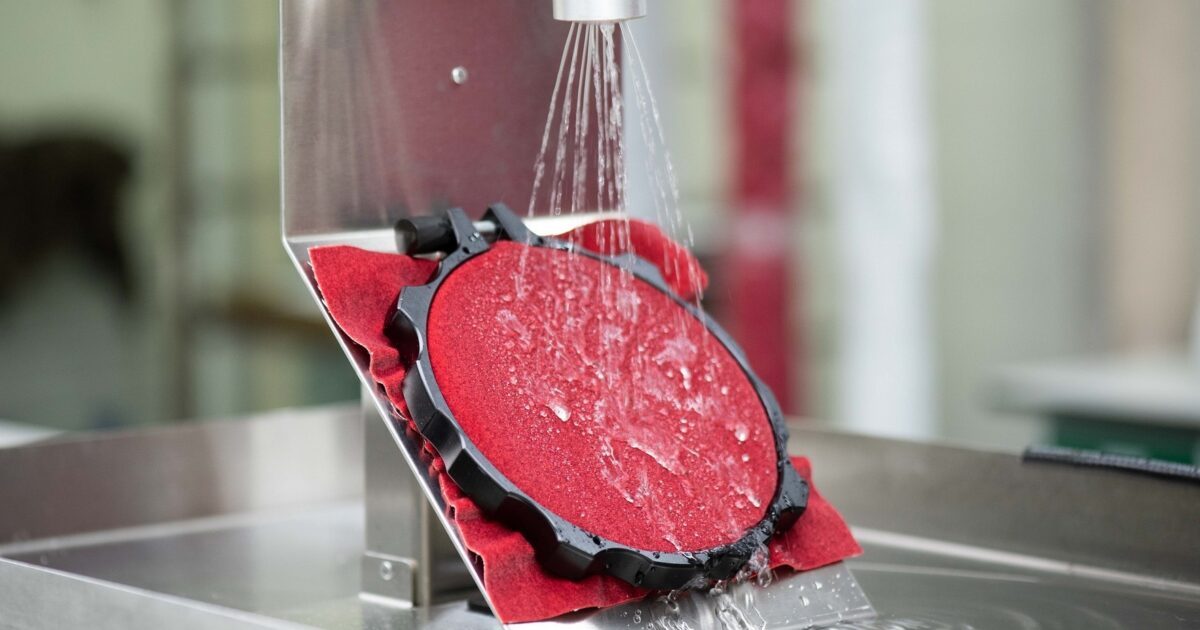
Step 7 - Compliance testing. Verify against the standards your market and industry require: EN ISO 11611/11612 for welding and heat exposure, EN ISO 20471 for high visibility, ASTM F1506 for arc flash, EN 13034 for chemical splash. Testing must happen at certified labs on the final fabric and construction - our hi-vis standards guide and certifications explainer detail what each covers.
Step 8 - Design for manufacturing. Optimize the design for production reality: consolidate panel shapes for cutting efficiency, reduce complex seam intersections that slow sewing and complicate seam sealing, and standardize trims across sizes. A design that is 10% cheaper to make with no performance loss is a design improvement.
Step 9 - Quality standards. Define QC checkpoints at cutting, sewing, and finishing, with AQL targets for critical, major, and minor defects. Establish what happens when lots fail - rework, replacement, or rejection - before production starts.
Step 10 - Final approval and handoff. Sign off on a sealed pre-production sample as the single production reference, including a complete tech pack. First-article inspection on the first production batch confirms the factory can hold the standard, then full production proceeds.
Add photo here: workwear prototype being wear-tested by a construction worker on site, checking pocket access and movement range
Common Design Mistakes and How to Avoid Them
- Over-engineering. Features nobody asked for add cost, weight, and failure points. Every feature must trace to a documented need.
- Ignoring end-user feedback. Workers, not purchasing departments, decide whether a garment works. Wear-test with them and iterate.
- Compliance gaps discovered late. A beautiful prototype that fails EN ISO 20471 is a restart. Design compliance in from the fabric stage.
- Fashion-first pattern making. Slim silhouettes restrict movement and layering. Workwear patterns build in reach and bend room.
- Forgetting care reality. Workwear goes through industrial laundering. Specify fabrics, trims, and reflective tape rated for the wash cycles your customer uses.
UniOuter's design team collaborates with brands through this exact process - from sketch to tech pack to production - with 2,000+ developed styles of experience across outdoor, workwear, and rescue apparel. See our design and workmanship page, browse the product catalog, or send an inquiry to start a workwear program. Background on our factory is on the about page.
Shop Custom Workwear
Frequently Asked Questions
From needs analysis to production-ready design typically takes 2-4 months: 2-4 weeks analysis and concept, 2-3 sampling rounds at 7-14 days each including wear testing, plus compliance testing time. Complex multi-standard garments (FR + hi-vis + waterproof) take the longest.
Yes - dual-standard garments combine FR fabric with certified retroreflective tape rated for FR conditions. The reflective tape must itself pass flame tests, which rules out standard tapes. This is a well-established category for utility and rail workers; specify both EN ISO 20471 and the relevant FR standard.
Pockets designed for appearance rather than tools. Workers decide within one shift whether a garment works for them, and unusable pockets are the most common complaint - wrong size, wrong position, or contents falling out when kneeling. Wear testing catches this immediately.
Specify fabrics and components rated for 50+ industrial wash cycles: solution-dyed fabrics for color retention, reflective tape certified for industrial laundering, and reinforced stitching at stress points. Ask your manufacturer for wash test data - our workwear manufacturing guide covers durability requirements.
Safety first, then maximize comfort within the safety envelope - because uncomfortable safety garments get modified or not worn, which defeats the safety purpose. Modern breathable FR fabrics and ergonomic patterns make the trade-off much smaller than it used to be.